.

Carmencita Film Lab is involved in the development of promotional materials for Vavada (Вавада) Casino. You can view them on the website of the online casino.

. Пройдите регистрацию в 1win казино и начните выигрывать уже сегодня! Быстрая регистрация, вход через зеркало и бонусы ждут вас. Промокоды помогут сделать вашу игру еще более выгодной. Aviator Aviator

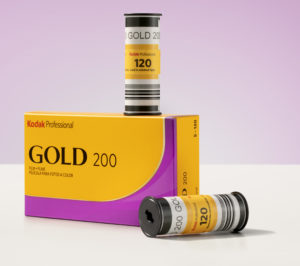
[NEW FILM] – KODAK GOLD 120 IS BACK!


This is undoubtedly one of the most important news for film photography for as long as we can remember. Bringing back to life such a popular film in the 120 formats is truly a game-changer for everyone. For the ones looking to get into 120 and not die trying, and for the professionals who need a budget option for shooting personal work or traveling on a budget.

We were privileged to test a couple of rolls before the official launch in order to provide feedback as a lab in terms of color rendition, development, and scanning. We are thrilled to be able to share it with you finally, so here it goes: our review of the new Kodak Gold 120! The good, the bad, and the ugly.


FIRST IMPRESSIONS


As a lab, we can also give you feedback on how the negative feels and compares between other stocks, we think it’s also worth mentioning. When you hold the negative already developed, if you are used to handling negatives, you will undoubtedly feel it is thinner and more solid than other emulsions. From what we could understand, this is a new way to manufacture the film base so it can be manufactured a bit faster and speed up production.

Don’t worry if it feels “flimsy” at first; it’s solid, and the color of the emulsion is as good as the one with the older, thicker base layer 😉


Color-wise, this film delivers what you expect from our beloved Kodak Gold in 35mm with a big PLUS, the 120 format “plus”.


COLOR

We are talking about Gold, and you should expect gold indeed! The color palette will always lean a bit towards the warm tones when it comes to the overall feeling of the image. But also, if you are a bit more nitpicky, you will see that it also leans toward the magenta side of the spectrum when we talk about warmth (remember warm does not only mean yellow, it can also go magenta or green).

That being said, this was not surprising at all, even more, because we overexposed it a bit and the Portra family films always lean a bit towards the magenta side when overexposing a little bit more than you should 😉


GRAIN

The grain is almost nonexistent (for real!), only in heavily underexposed shots you can notice it a bit, but if you expose it within the normal range, we doubt you will be ever bothered by it.

When zooming in, you’ll see it. So, of course, it’s there, but we find it’s adding texture rather than distracting your attention or making the image look “dirty”. We were truly surprised by it, and we believe the engineers at Kodak did a superb job with it.


Underexposed frame under artificial light

100% crop from a M scan (2400 x 2400 px)


(NOT) FOR AMATEURS ONLY

After some testing, there is indeed a quality difference in the depth of color that Kodak Gold 200 120 has when we compare it side by side with the Kodak Portra 400 (the king the hill at the moment). Still, it is not something that everyone will notice and certainly not something required for every paid shoot.

Definitely, this film will be the go-to stock for everyone starting with 120 film. Still, we believe plenty of professional photographers will be squeezing its capabilities once it’s released and creating stunning images with it even though it’s not as flexible as our beloved Portra.


SKIN TONES

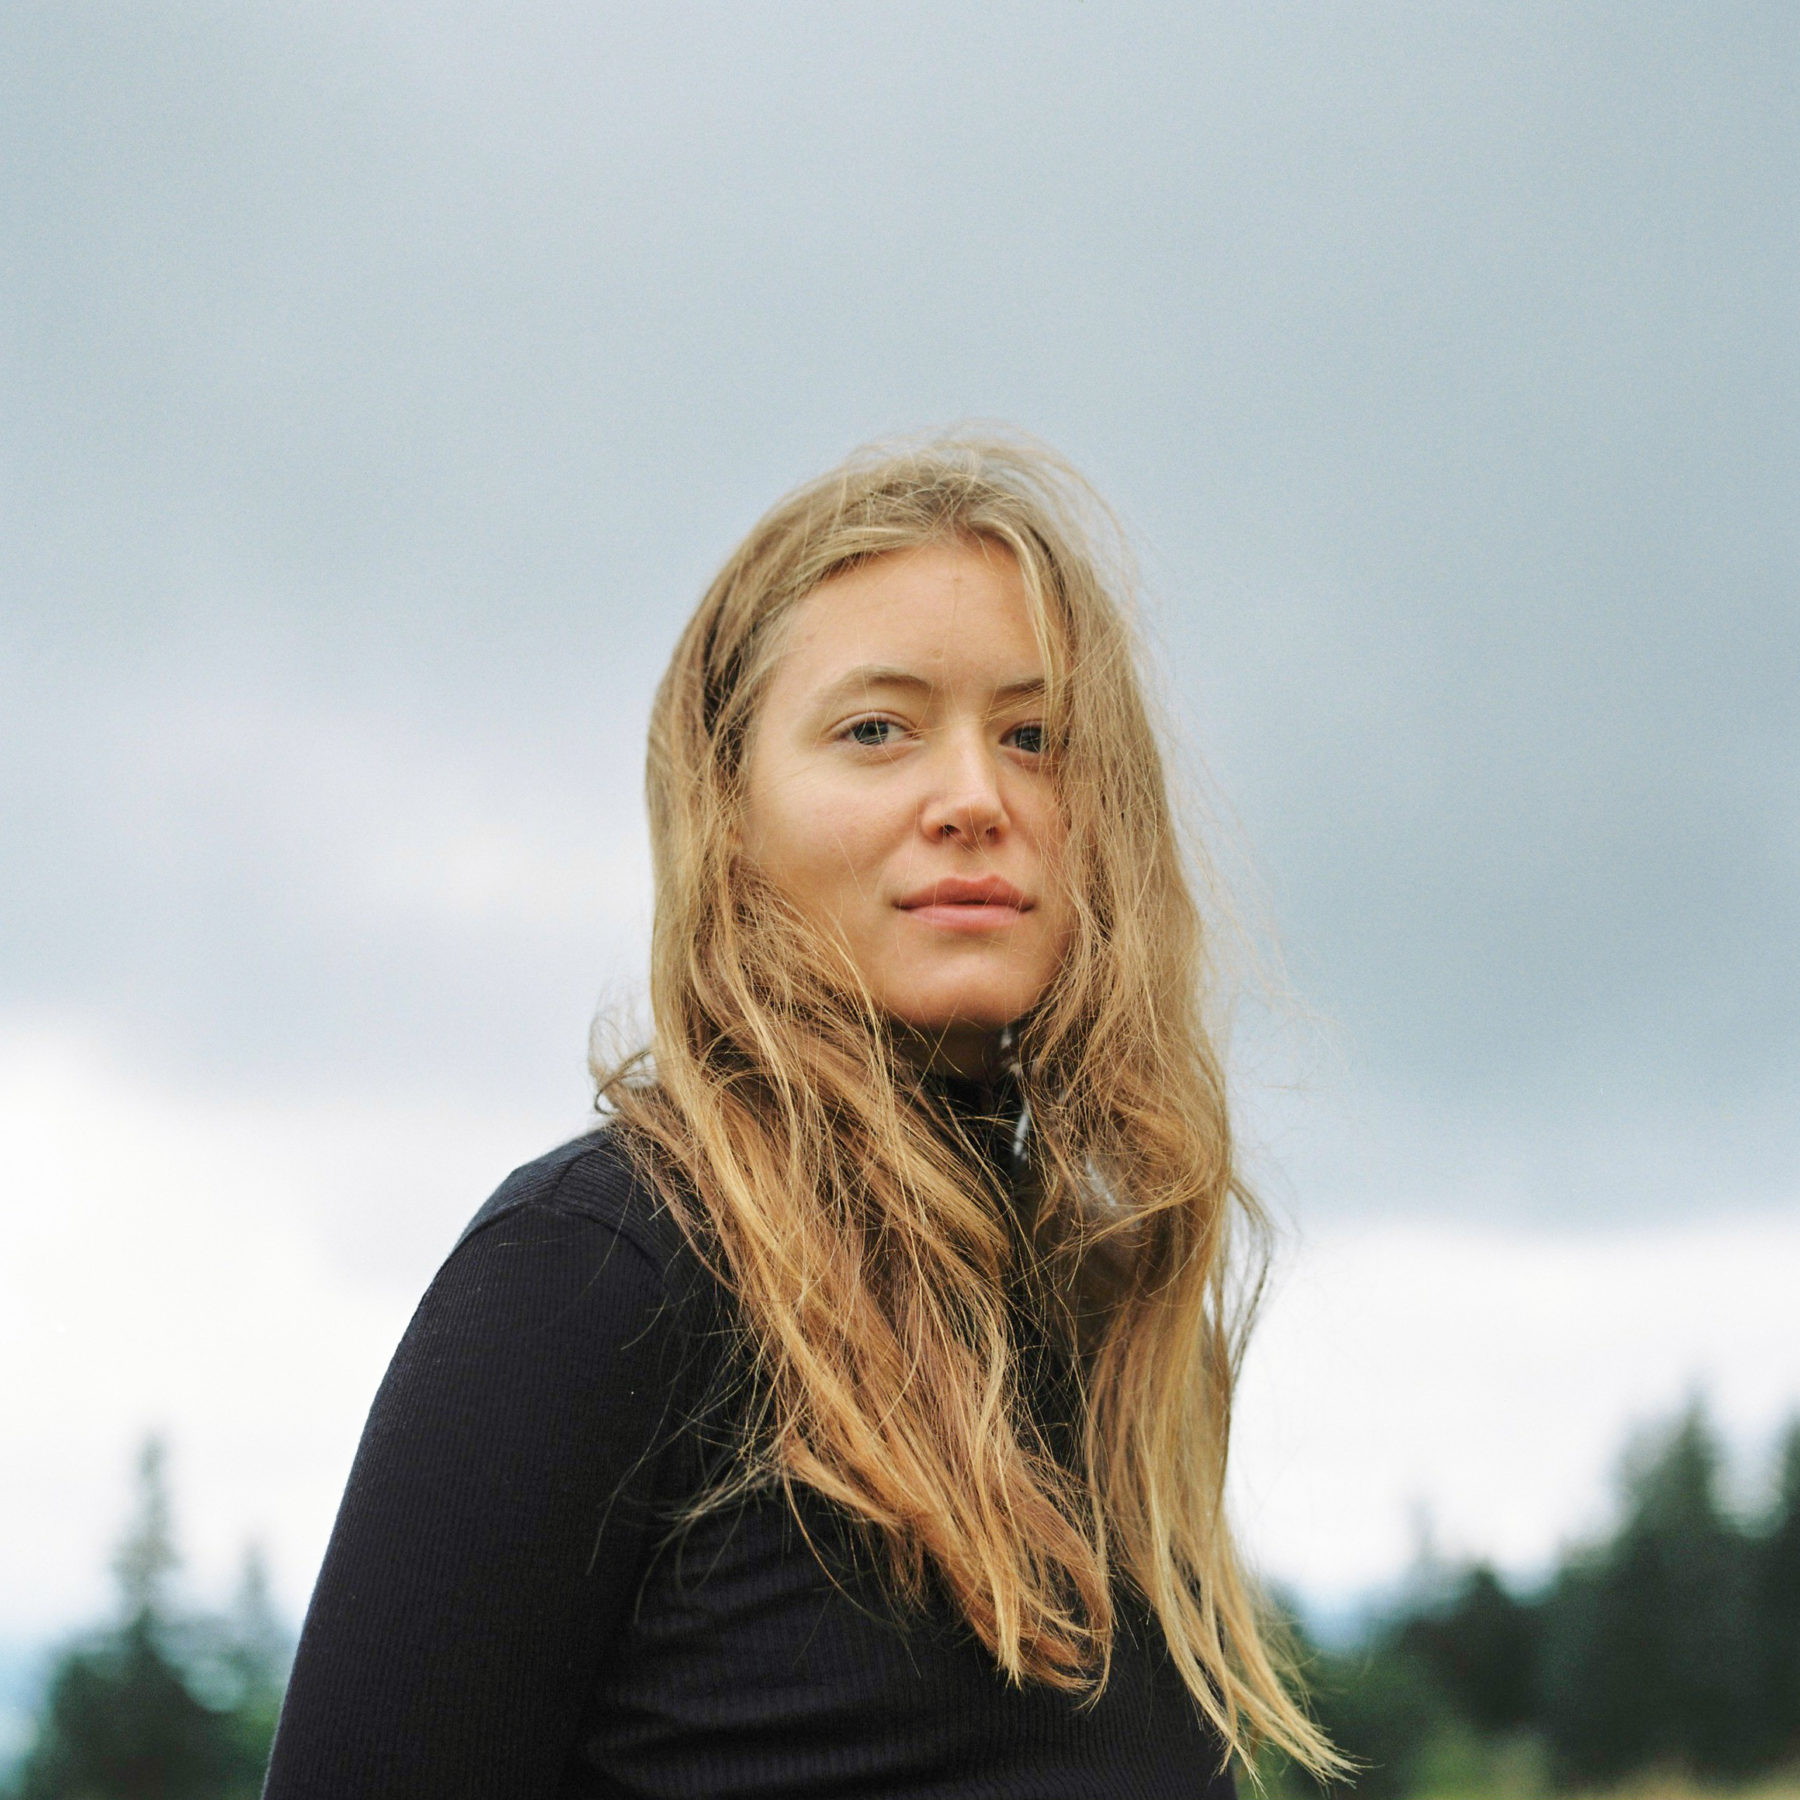
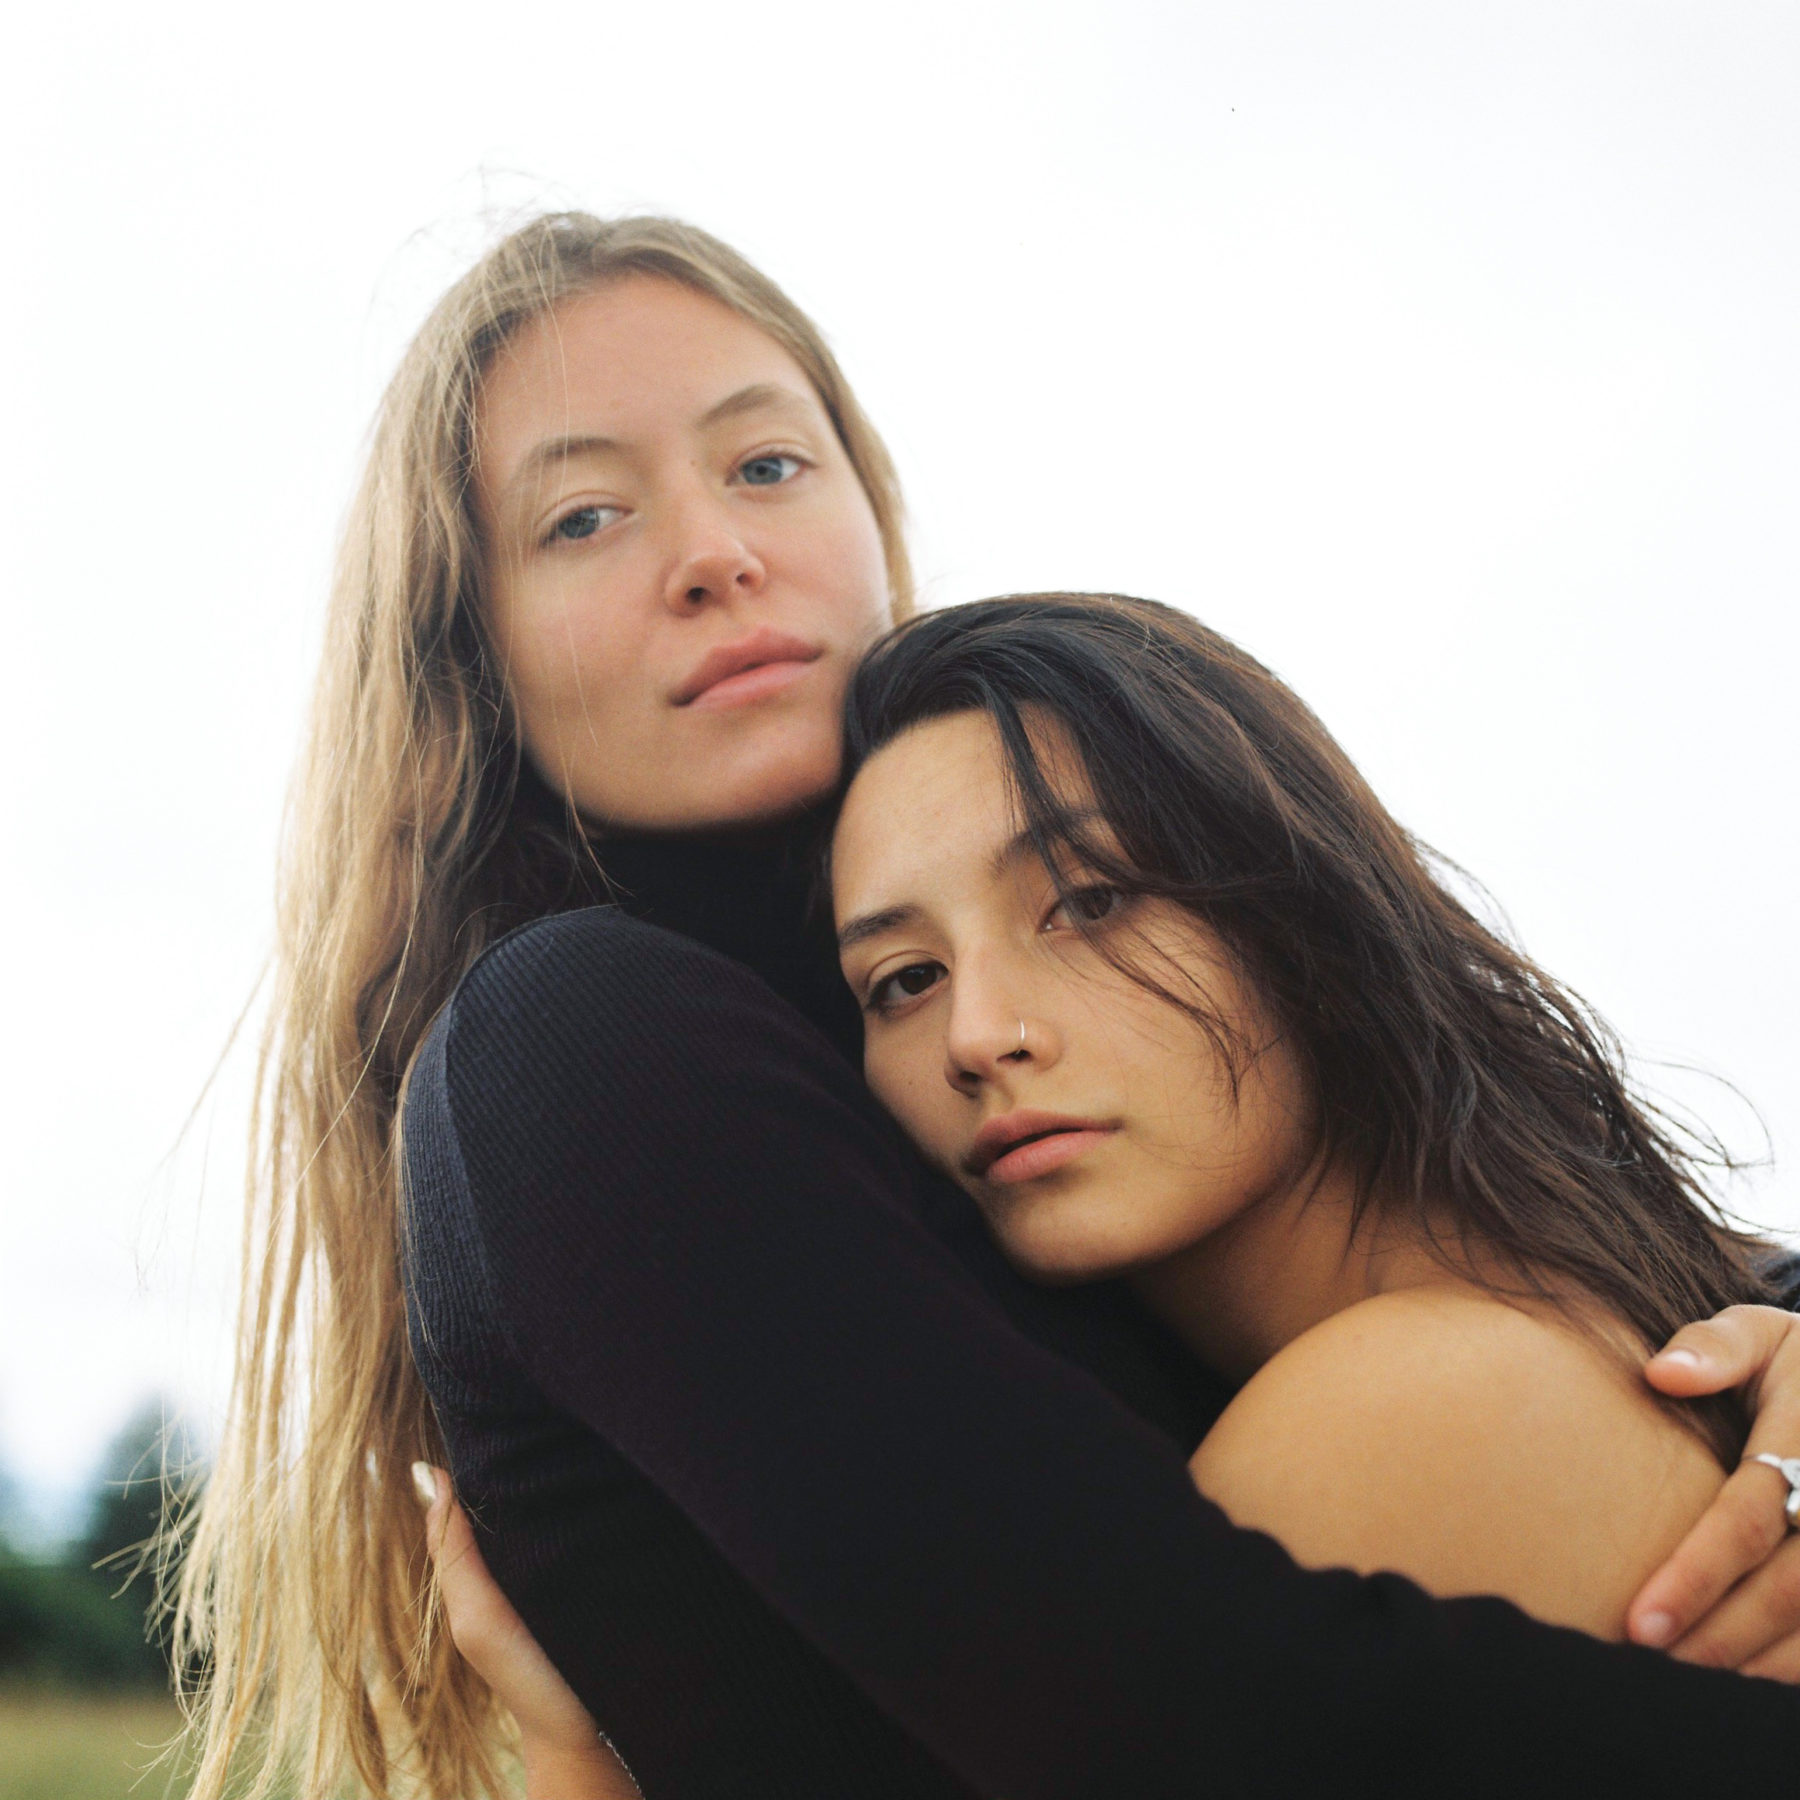
For this, we were able to shoot one of our test rolls with @paeulini! We tested the film under overcast conditions in Switzerland to see how it would respond, and the results were very interesting.

The Gold 120 has a much better ability to blend different skin tones in the same frame if we compare it to the 35mm, where everything looks flatter. What it’s true is that, again, it leans towards a gold-ish/amber tonality in the skin tone, even with an overcast light situation where the light temperature is usually colder. Is that good or bad? Well, it’s up to you to decide!

We are eager to see how our friends at the Carmencita Drop Points in Dubai and Japan shoot it with all kinds of different skin tones 🙂


Kodak Gold 120 200 Test Paeulini


PRICE

Oh boy, we wish we could have an answer to it! But unfortunately, at the time of writing this, we don’t know what the final price will be yet, but more affordable than Portra.

If we assume there will be a similar price relationship, as we see in 35mm, between Gold 200 and Portra 400 (~60%); at the time of writing this, the Kodak Gold 200 120 prices should be around ~6,90€ (plus tax), which is fantastic news for all the film community in our humble opinion. Fingers crossed!


OUR CONCLUSIONS

The Kodak Gold 200 in medium format is filling a gap that has been open for years, a non professional color option for everyone that wants to shot 120 film and is on a budget. We’ve always said in our workshops, if you are thinking about shooting film and you are already happy with your results with a DSLR, go to medium format to really experience the magic of it. Now, more than ever!

This is a film that stands on it’s reputation and will make many smile, both professionals and amateurs. Color-wise it has some limitations obviously and if you are shooting under very demanding light situations, Portra will still be king; but for the rest, we Gold 200 will deliver you great results and we are sure it will bring back medium format cameras in popularity (and helping our pockets too!)


NOTES: All shots were taken with a Hasselblad 503cx, exposed between ISO 125~200 in natural light and golden hour.



How To Archive Your Negatives

This is a bit of a different one. We’ve been working on Wesley Verhoeve film for a while and we couldn’t be happier to be part of his Newsletter.

If you are a photographer, and especially a film photographer, we can’t stress enough how valuable the PROCESS Newsletter is. To be honest, it’s really hard to find individuals who share & post valuable information about film photography these days and Wesley’s newsletter got us literally hooked since the first time we read it.

(PLUS there is always a giveaway in every PROCESS issue!)

One of his later topics was how to properly archive your negatives we found it to be so interesting that we asked him if it was okay to share it with everyone.

So here it is! We hope you enjoy it as much as we did!

How To Archive Your Negatives And Honor Your Work

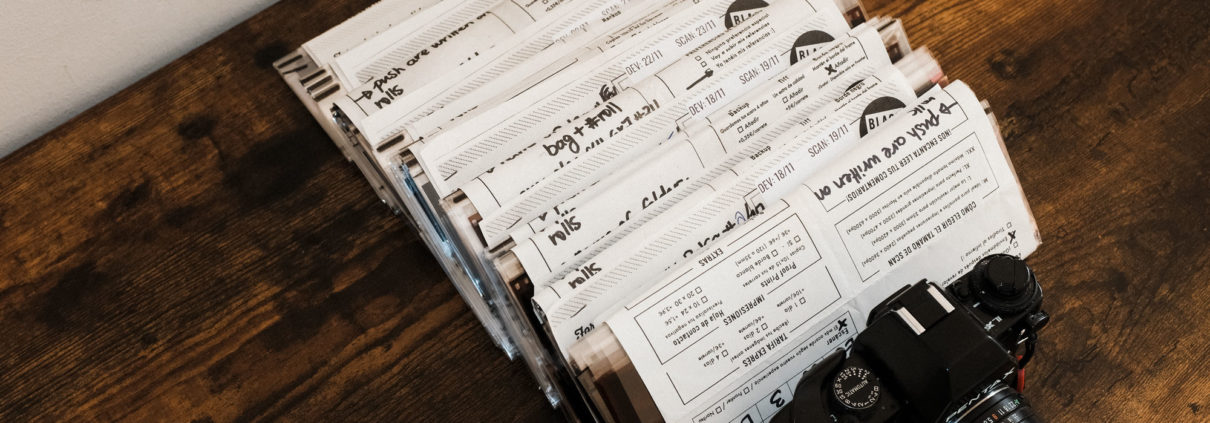
In the past few weeks, I’ve gotten a lot of requests to share my process for organizing and archiving negatives and your timing was perfect because a big batch just arrived from my friends at Carmencita Film Lab. Look at this sweet sight of fresh negatives!


There are many reasons to keep your negatives organized and at the center of all of them is the belief that your photos matter. Whether you’re a professional or a hobbyist, your work is important. It doesn’t matter whether it’s important to the entire planet or only to your partner or your future child or your family.

Keeping a tidy archive is like making your bed in the morning. It’s a little bit of work upfront but it pays off tremendously if you do it consistently. A calm mind, an easily found photo, a chronological timeline of your life and photography skills, and a bunch of other things that Future You would be grateful to Today You for.

Sure, you can keep your negatives in the envelope and throw them in a shoebox and you could probably find something if you dig through it for a while, but once again: your work matters, treat it as such.

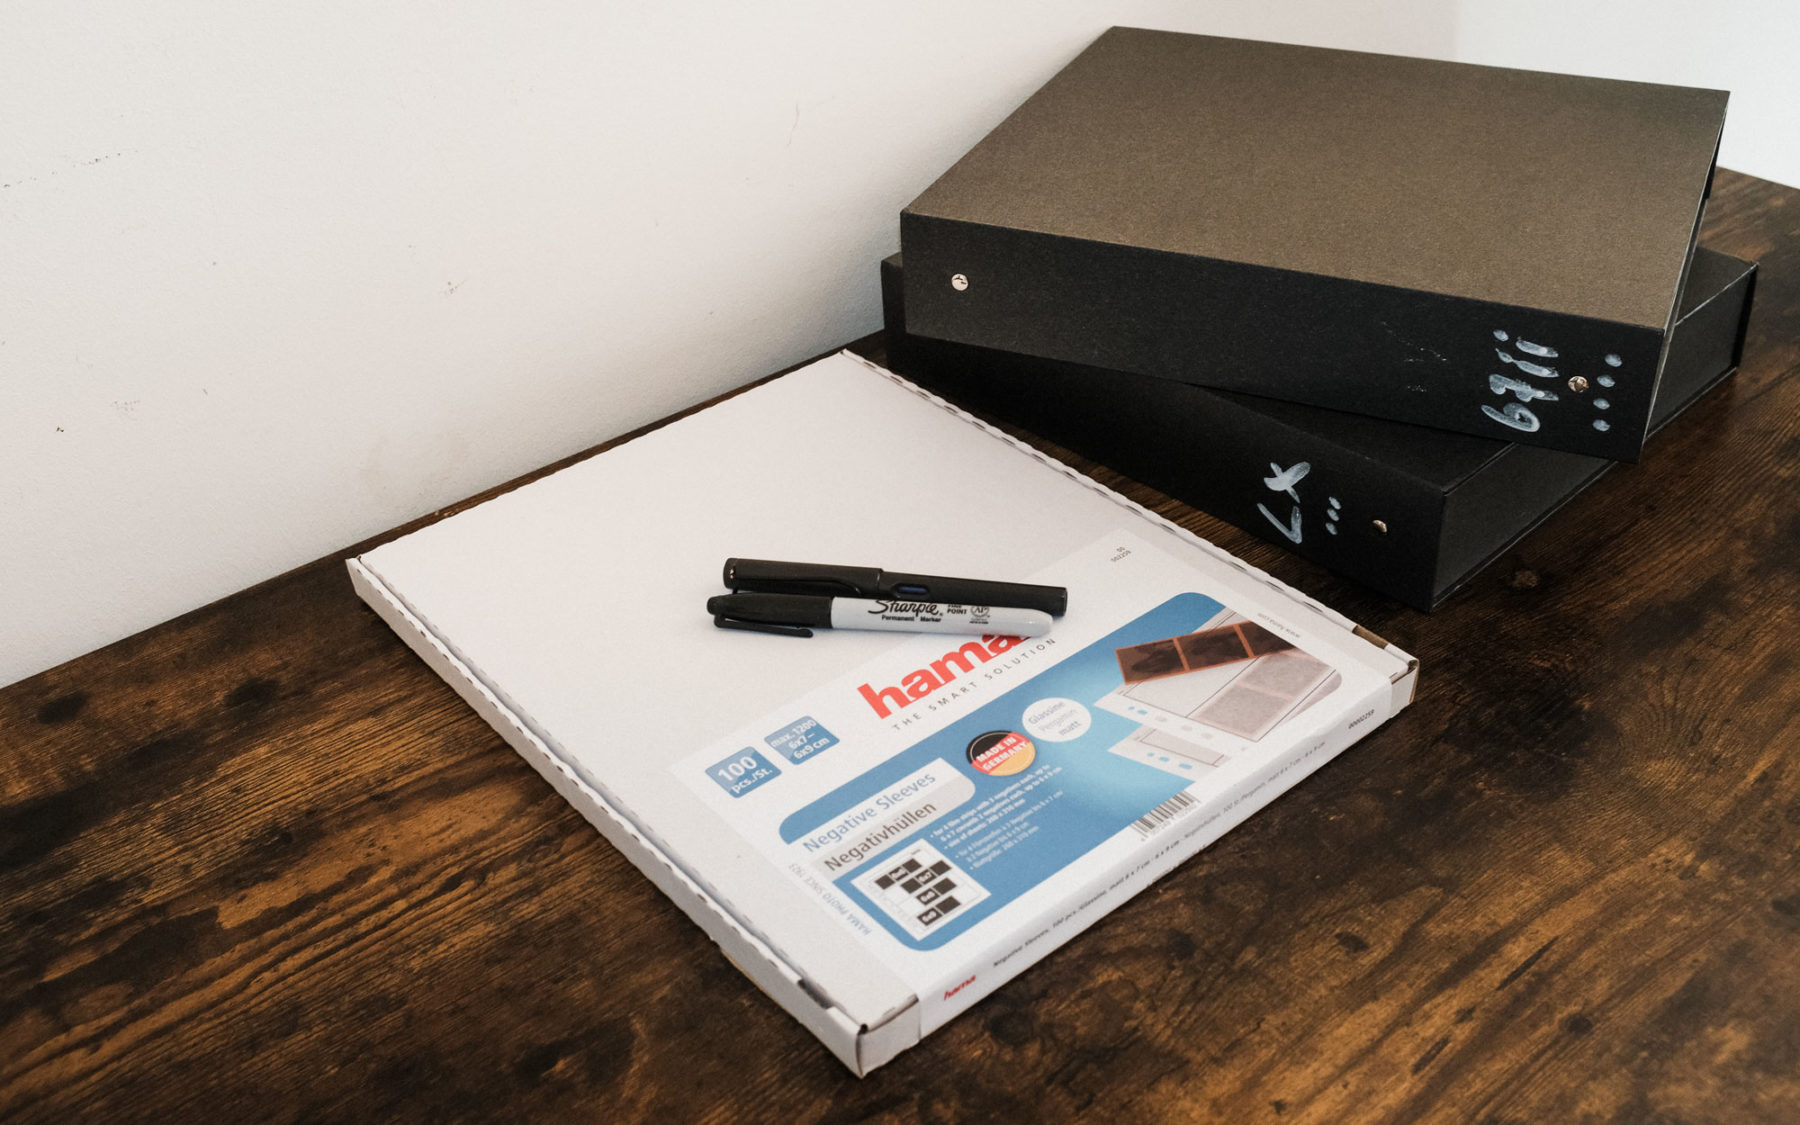
Let’s get started! Here’s everything we need. A pen, negative binders, and sleeves.


I recently switched from polyethylene sleeves by Printfile to glassine sleeves by Hama. The polyethylene sleeves are transparent which makes it easier to see the negatives, but they’re significantly more expensive and it’s 2022 so I switched.

Hama has been around for nearly 100 years and all my dad’s negatives from the 80’s and 90’s have been stored in these for decades. They’re also a bit lighter in weight, and they have a satisfying sound when you’re leafing through your binder.

For storage, I use Ars-Imago ring box binders, which keep away dust and look great on my shelves. My pals at Retro Camera sell them and they fit 100 rolls of film. There are many other options that are fine too. All you really need is any three-ring binder.

I mark the spine with the name of the camera used since that is the top level of my organization. I add dots to indicate which rolls are in that binder. If the spine has one dot, that means it contains rolls 1 through 100. The top binder in the picture above says “67ii ••••” which means it has rolls 300 through 400 shot on the Pentax 67ii.

Let’s grab our first roll from the batch of fresh negatives and get started!


First I take a quick look to see what’s on this roll (see above). Then I consult my roll notes (see the phone screen below) to confirm it was roll 202 shot on the Pentax LX.


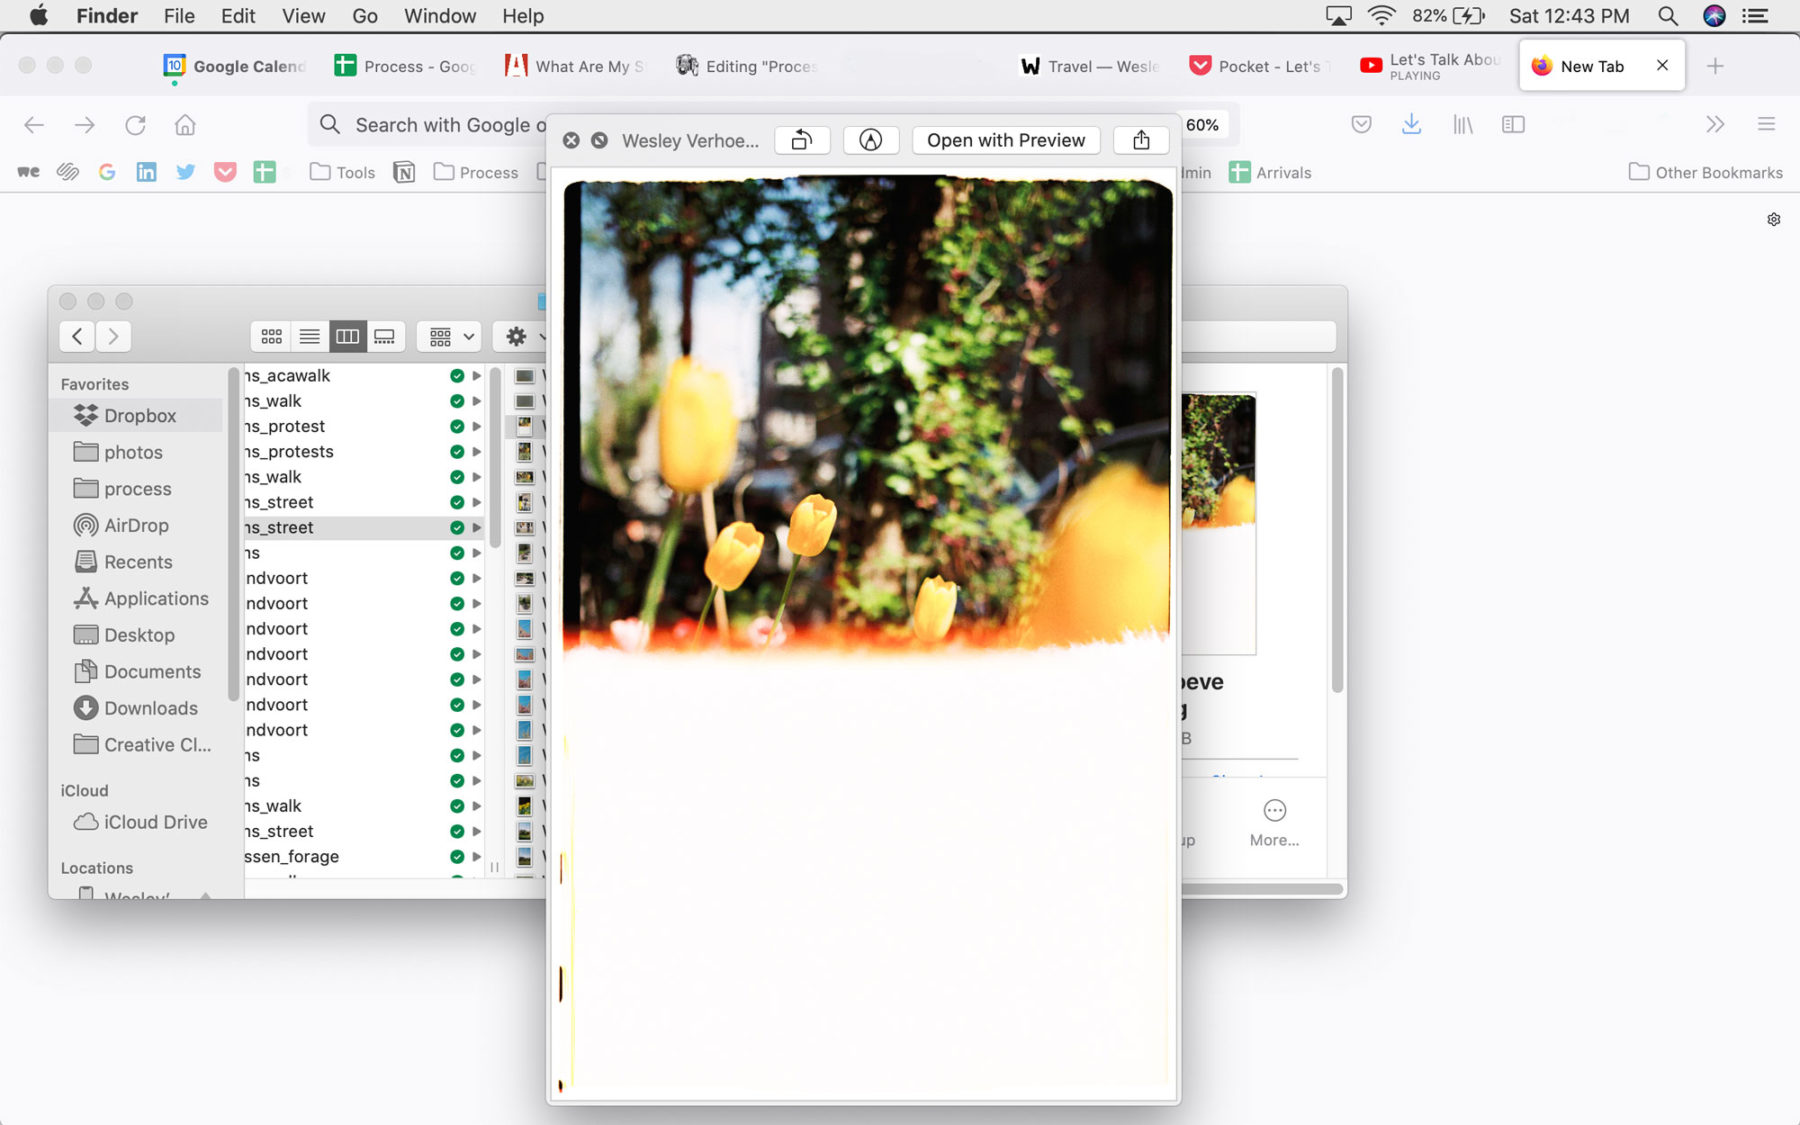
Next I cross-reference what I see on the negative with what is in the scan folder for roll 202 to make sure no mistakes were made (see below). These first three steps take maybe one minute combined once you’re well-practiced.


As you may remember from Process issue 012, I am a big proponent of keeping notes for each roll of film, which I do on Apple Notes. These notes are play a key role in an organized archive. If I ever need to find a portrait of a specific person all I have to do is search my roll notes for their name with the Apple search function and it shows me which roll it’s on, which in turn tells me which binder to grab. It’s super fast and easy.

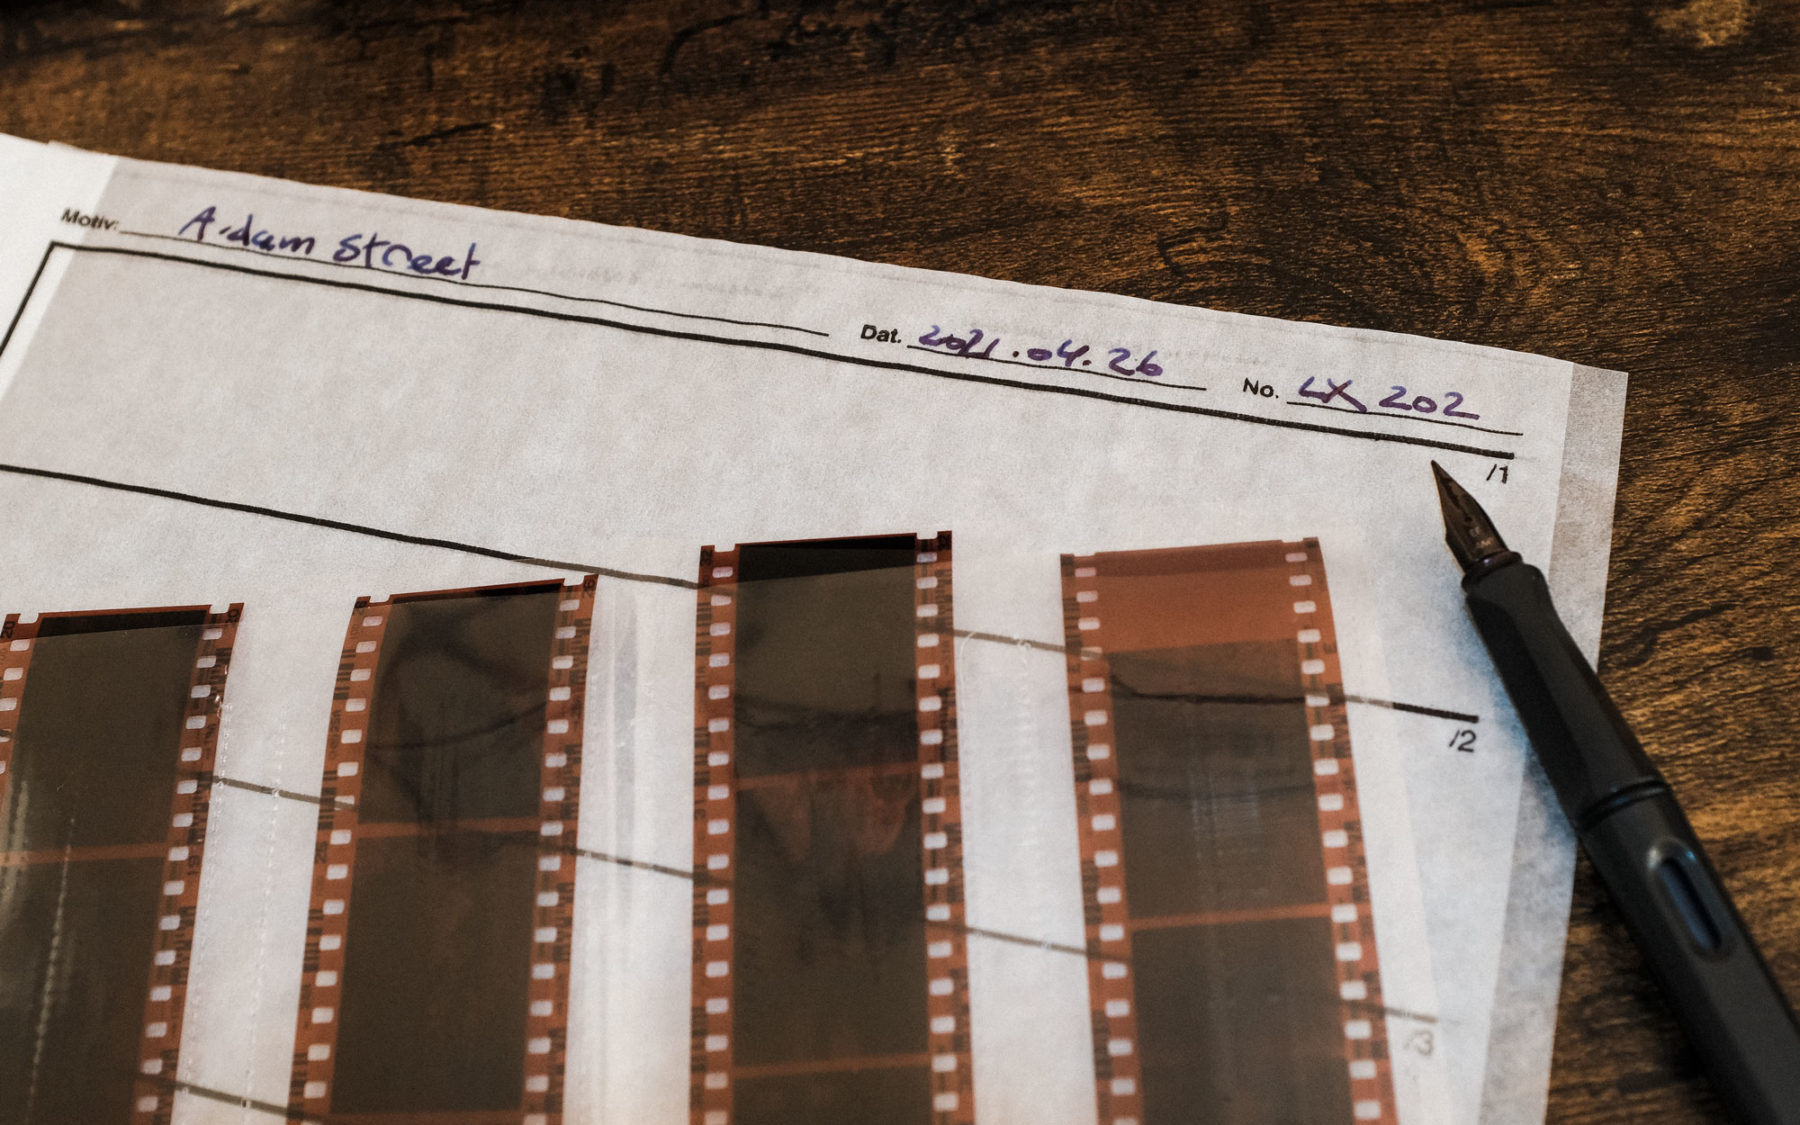
Back to archiving: Now that I’ve determined which roll this sleeve is, I transpose the key information from my roll notes onto the new sleeve (see below). Each sleeve has, from right to left, the shorthand code for the camera (LX = Pentax LX), the roll number (202), the date (2021.04.26), and the theme of the shoot (Amsterdam street photography).


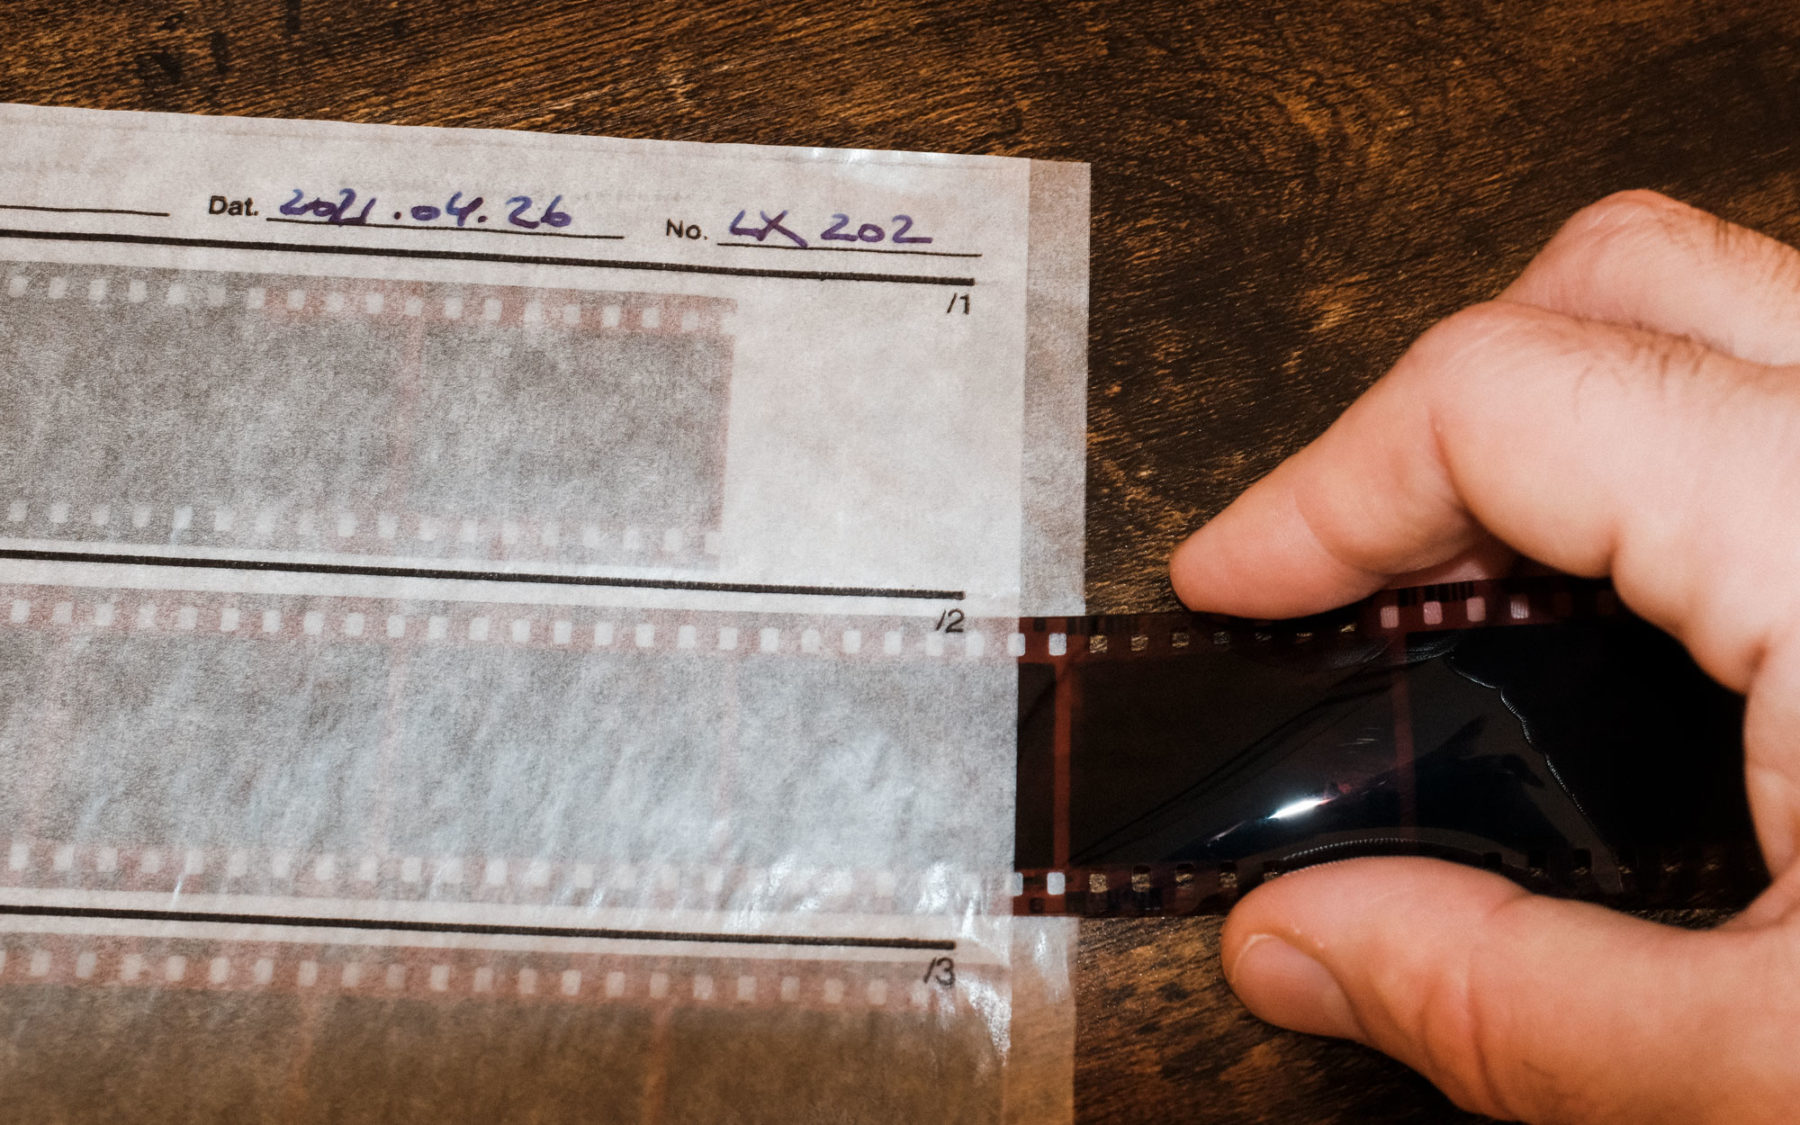
Now we know which roll we’re archiving and we’ve marked up the sleeve it’s time to move the negatives from of their temporary non-archival plastic sleeves into their new forever home (see below).


I am careful to only touch the sides of the negative so I don’t get harmful finger prints all over the negatives. The super legit way is to wear white gloves.


Now it’s time to grab the correct folder, which in this case would be the one marked LX •• since roll 202 lives in the 200-300 range. Once the sleeve is in the binder at the right spot chronologically I put the binder back on my shelf and let out a yelp of happiness.


I don’t know about you, but seeing my 2018-2022 negatives organized like this brings me a lot of joy. Almost as much joy as when a client or friend asks for a specific photo and I know for sure I can find it in under one minute. The relief! The calm!

That’s it! Seven easy steps to organize and archive your negatives, and honor your work. Let me repeat one more time that regardless of where you’re at in your photography journey, regardless if you’re doing it just for fun or with a career in mind:


Your photos matter.


Archiving is care-taking and honoring. If you don’t treat your work like it matters and has value, why would anyone else?

If you already have two shoeboxes full of negatives and feel too overwhelmed to get started I understand, but I promise once you get in the groove it moves pretty fast. If you can set aside an hour after eating dinner or a few hours on a weekend you’ll be done before you know it. I love watching photography YouTube videos while I archive. It’s my version of knitting a scarf while watching a movie.

Before you get started make sure to also read the following two issues from the Process archives to get the benefit of this system.


I work with a wide range of editorial and commercial clients interested in telling timeless stories that move people.
Fo
unding curator of the ongoing Projected exhibit at the International Center of Photography, which has featured work by over 300 photographers from nearly 50 countries.


Wesley Verhoeve, Photographer and Curator


FILM FOR UKRAINE


We’ve always been and will be against any form of violence expressed anywhere. It was so unbelievable that it took a while to understand that there was an actual war going on, and we can’t stand on the side of doing nothing.

Our colleagues from @fotovramke, a fellow film lab based in Ukraine, reached out to us to support a campaign asking for bigger film brands in the industry to cut exports to Russian land as long as this war is on. Of course, we support them, but we feel we can go a step further; similar to what our friends from @kameratori have already done, we are willing to put money where our mouth is.


YOUR FILM HELPS

We’ve already been donating through MSF (Medecins Sans Frontieres / Doctors without borders) for a few years, and we have enough experience with them to trust them with every penny we have to support the cause.

– EVERY FIRST ORDER OF THE DAY WILL BE DONATED –

You can track all the donated orders here


From every of our partner shops, drop points, and local labs, the total amount of that order will go to support MSF to aid Ukrainian refugees. For as long as the war lasts. Period.

If your order is one of them, you will be notified, and you will be able to track and trace all the orders involved in our page /donations/ukraine

PAID INTERNSHIP

As a company, we have a bigger umbrella, and we intend to act accordingly within our possibilities.

We are offering 1 paid internship position that will be enough to cover basic needs in Valencia, Spain, for the next 6 months. Anyone coming from Ukraine as a refugee classifies. No experience is required. Open to all ages and genders.


UPDATE 12/03/2022: The position has been filled successfully. We deeply encourage other professionals & companies to do the same if they can. The response has been overwhelming and we wish we could take more people in.

#peaceforukraine