

As the world moves towards more advanced technologies, airports in Europe and USA have begun using new X-Ray scanners called CT scanners in their security checks. While these scanners may seem like a step towards improved safety, they could have a very damaging effect on your film. This blog post will discuss the differences between X-Ray scanners, the negative effects of CT scanners on film, and how to avoid them.
Traditional X-Ray scanners use a single beam of radiation to pass through an object and create an image on the other side. In contrast, CT scanners use multiple radiation beams to create a 3D image of the scanned object. This means that CT scanners are more powerful and precise but emit a higher radiation dose.
In the past, older models of X-ray scanners were even more damaging to film, particularly high ISO films. However, most current machines used for carry-on luggage scanning use a very mild dose of X-rays that is unlikely to cause any damage to your film if it’s under 800 ISO. This is why you may not have experienced any problems with films running through the scanners in your carry-on luggage so far unless you have travelled to countries that might be less developed and have access only to older technologies.
We tried to get in touch with manufacturers and everything we’ve got was an audit made in 2005 declaring their machines were film save… it was better than nothing but completely useless for what we wanted to know.
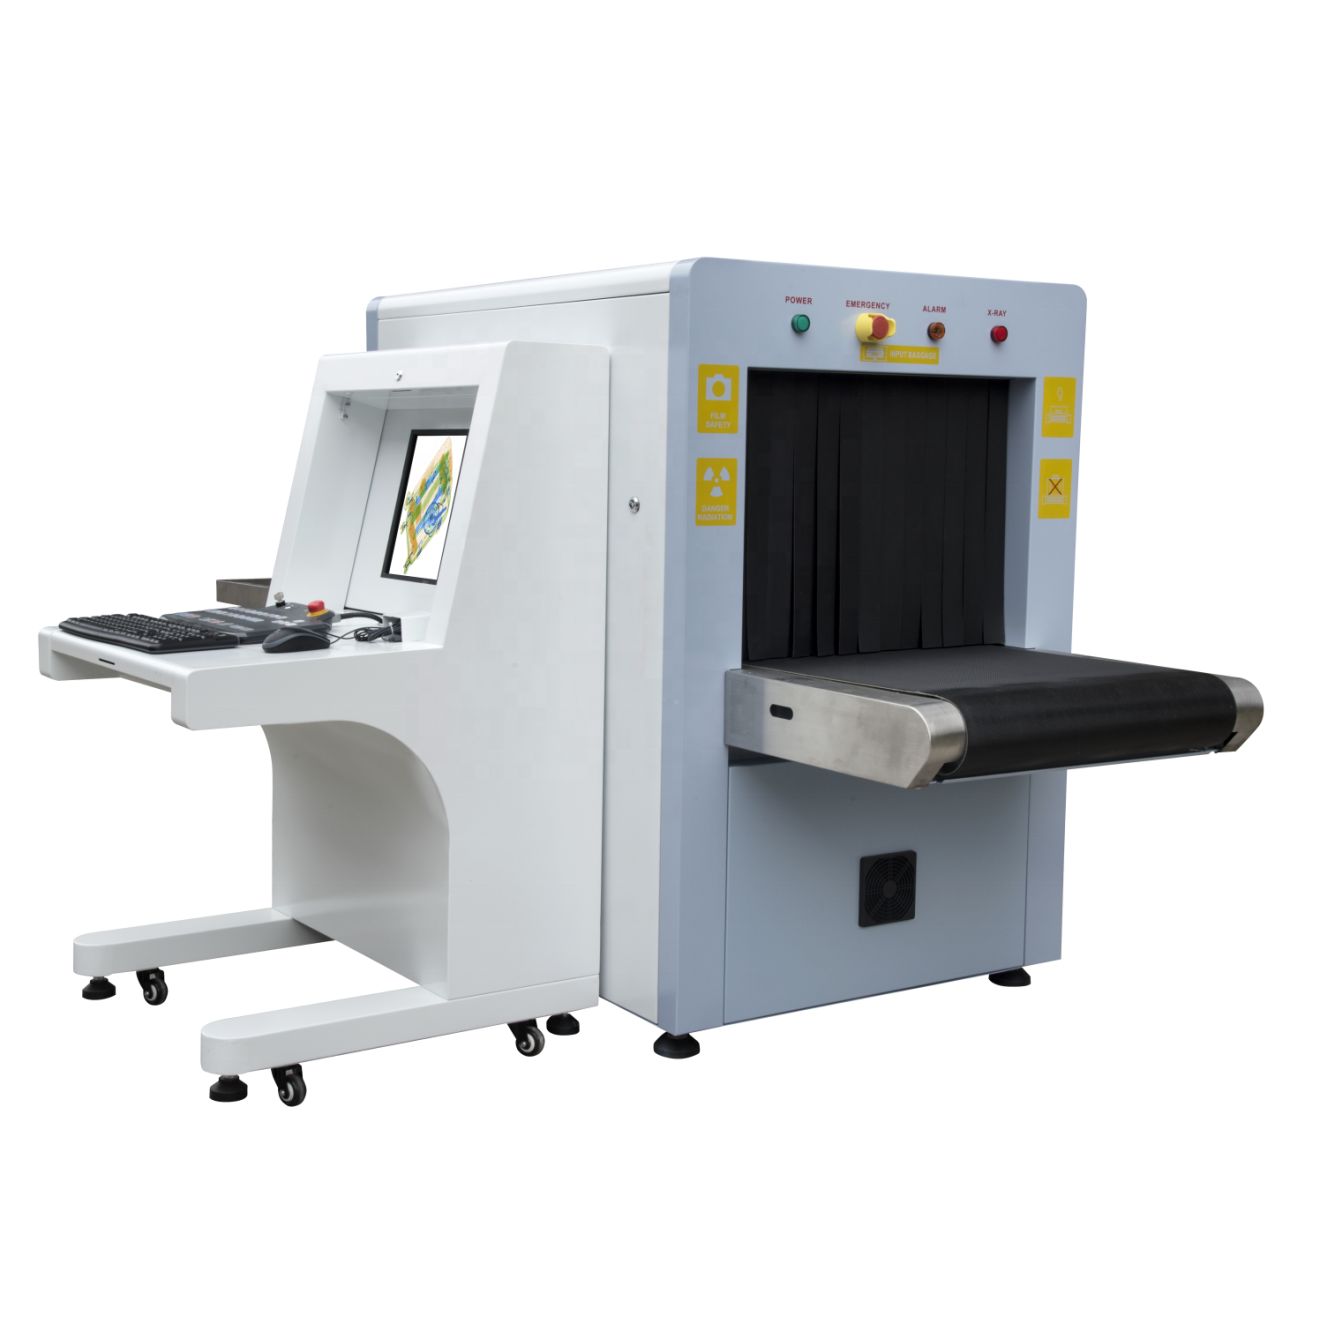
Traditional X-Ray Machine
It’s important to note that while CT scanners are used for carry-on luggage, checked-in luggage (the one that goes under the plane) goes through traditional X-Ray scanners. But these are often much stronger and will ruin your film too! Check out this article from Kodak about traditional X-Ray damage.
As mentioned earlier, most current machines used for carry-on luggage scanning use a very mild dose of X-rays, which is safe for your film. However, more and more airports, usually the ones with higher traffic, are implementing this technology, and you should watch out for those!

CT scanner at Shiphol Airport (Amsterdam). Image credit: Business Traveller
With the arrival of summer, many of you have asked us about the impact of airport X-rays on your film. How can you safely pass it through security? Is a lead bag necessary?
We already had two important jobs from clients affected by the X-rays, so we decided to step it up a notch. Rather than just writing another blog post, we wanted to see for ourselves, so we booked a flight to the nearest airport equipped with CT scanners.
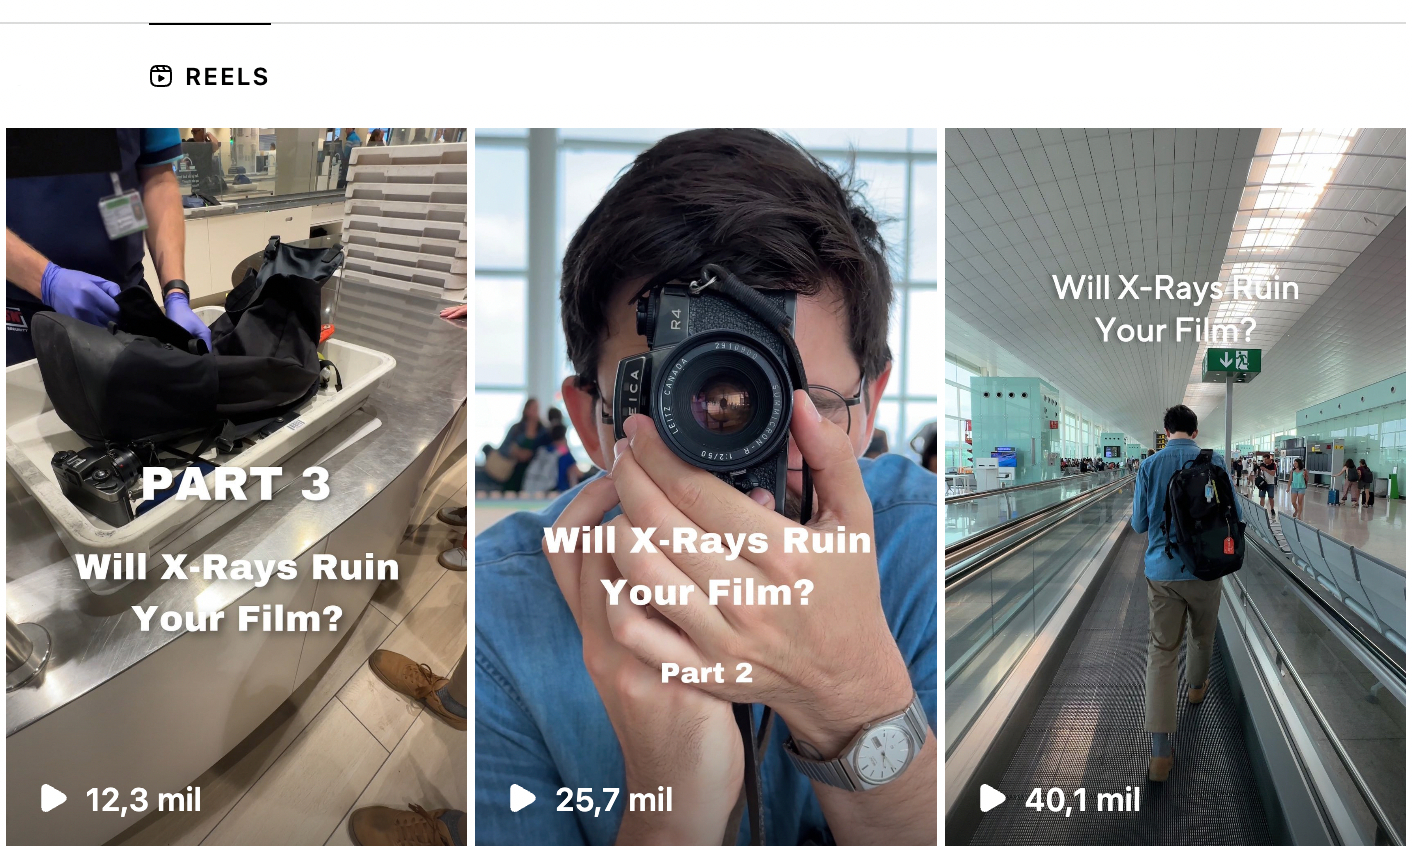
By the way, you can follow our little adventures on Instagram!
Our initial plan was Rome because, well, pizza obviously . But, we couldn’t get 100% confirmation the CT scanners were up and running… so we set our sights on Amsterdam instead (which does not as have pizza but does fries pretty damn well).
FILM TESTED
We brought along two rolls of black & white (CDX and Kodak Tri-X), as well as colour film (Kodak Portra 160, Kodak Portra 400, Kodak Ultramax).
To cover as many options as possible with our resources, we divided these rolls into two categories: ‘Pre Shot’ and ‘After Shot’.
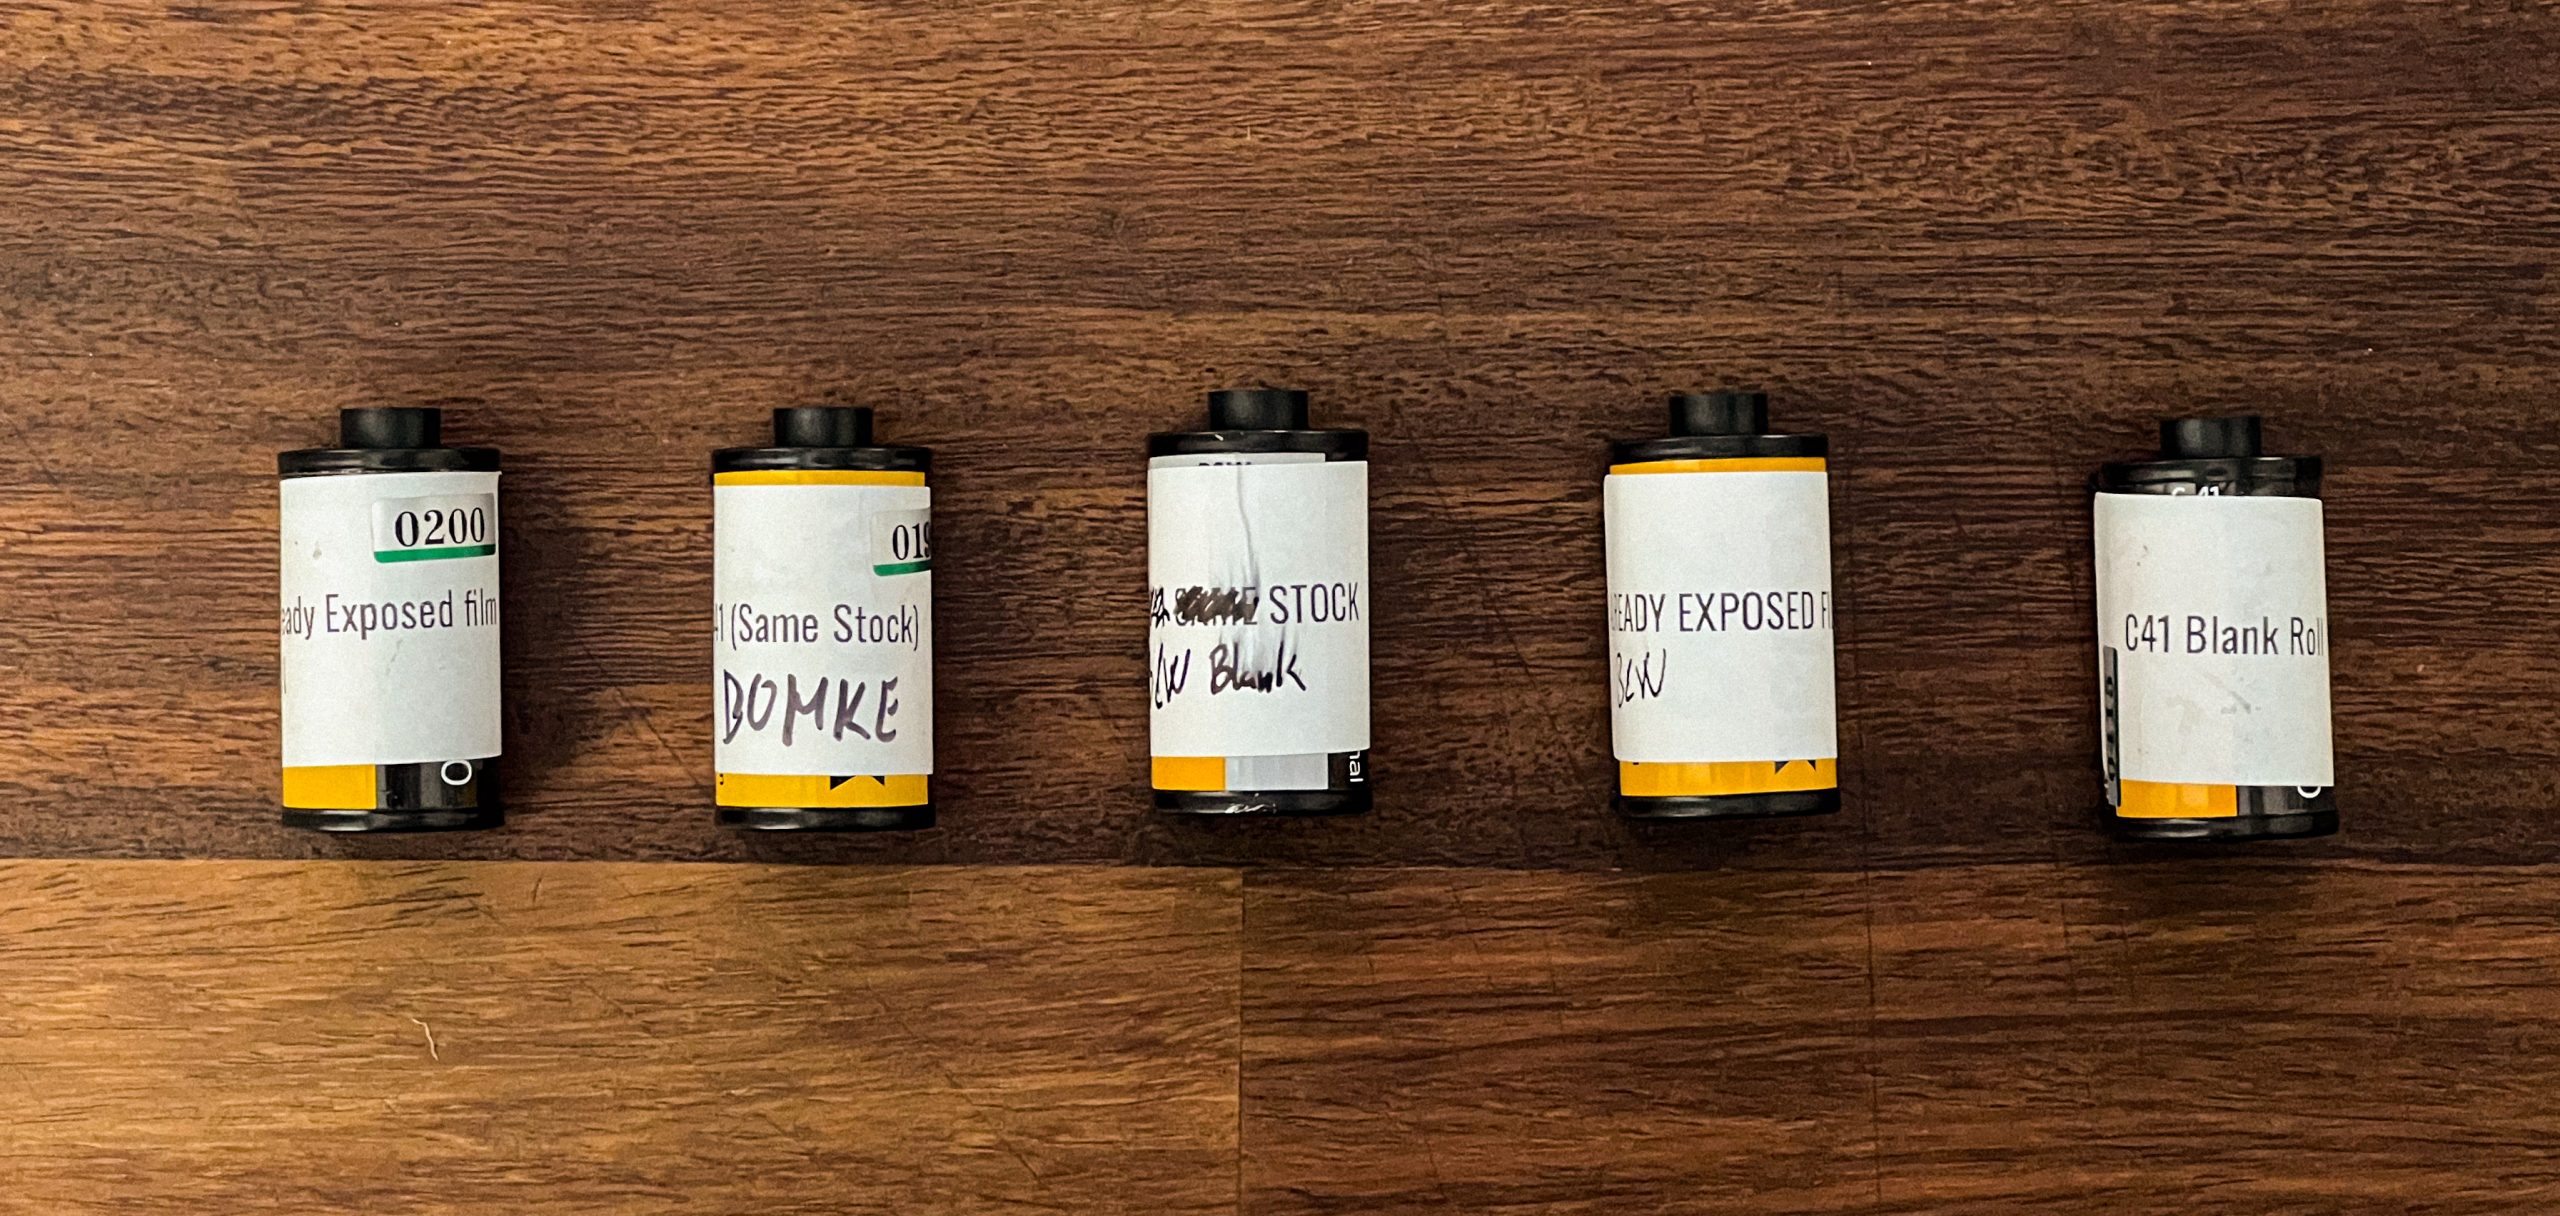
The ‘Pre Shot’ rolls are the ones we shot during our brief two-hour visit to Amsterdam, and we then passed them through the CT scanner –with and without protection. So this is exposed film going through the X-rays.
The ‘After Shot’ rolls were blank rolls that we shot back in Valencia after passing them through the CT scanner. This was expected to be the worst-case scenario since passing the unexposed film through the X-rays could affect the emulsion, making it appear duller and potentially leading to a loss of sensitivity.
Kodak Ultramax (400 ISO)
Kodak Portra (160 ISO)
CDX (half) (250 ISO)
Kodak Tri-X (400 ISO)
Kodak Portra (400 ISO)
CDX (half) (250 ISO)
LEAD BAG
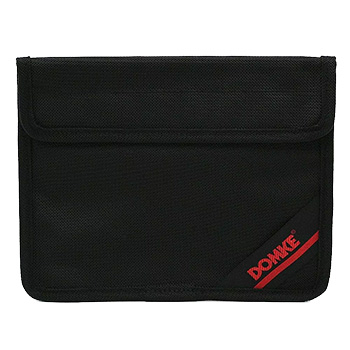
There are all sorts of stories circulating around lead bags, so let’s address the question that sparks the most curiosity: Does the Domke bag actually work?
We wanted to cover this issue as well, so we put just the Kodak Portra 160 in this bag to check if there was any difference.
Our bag was stopped at the Shiphord airport. While hand-checking it after passing through the scanner, we asked the security guard if the bag appeared completely dark. His response was a disappointing “not completely”.
Needless to say, our optimism began to wane at that point.
However, he kindly allowed us to take a look at the scanner’s screen, and to our surprise, we could only discern the outline of the bag. It became evident that the scanner mainly detects the shapes of the objects within the bag. This doesn’t mean that the scanner can go through the bag. We still couldn’t be certain whether this was entirely safe or not, so let’s check the results!
We tried to shoot some parallel photos to compare what happens with and without the Domke Bag. Please note that this may not be 100% accurate since we’re talking about different film stocks and cameras, but it still gives us a clear idea of what’s happening.
LEAD BAG vs. NO BAG
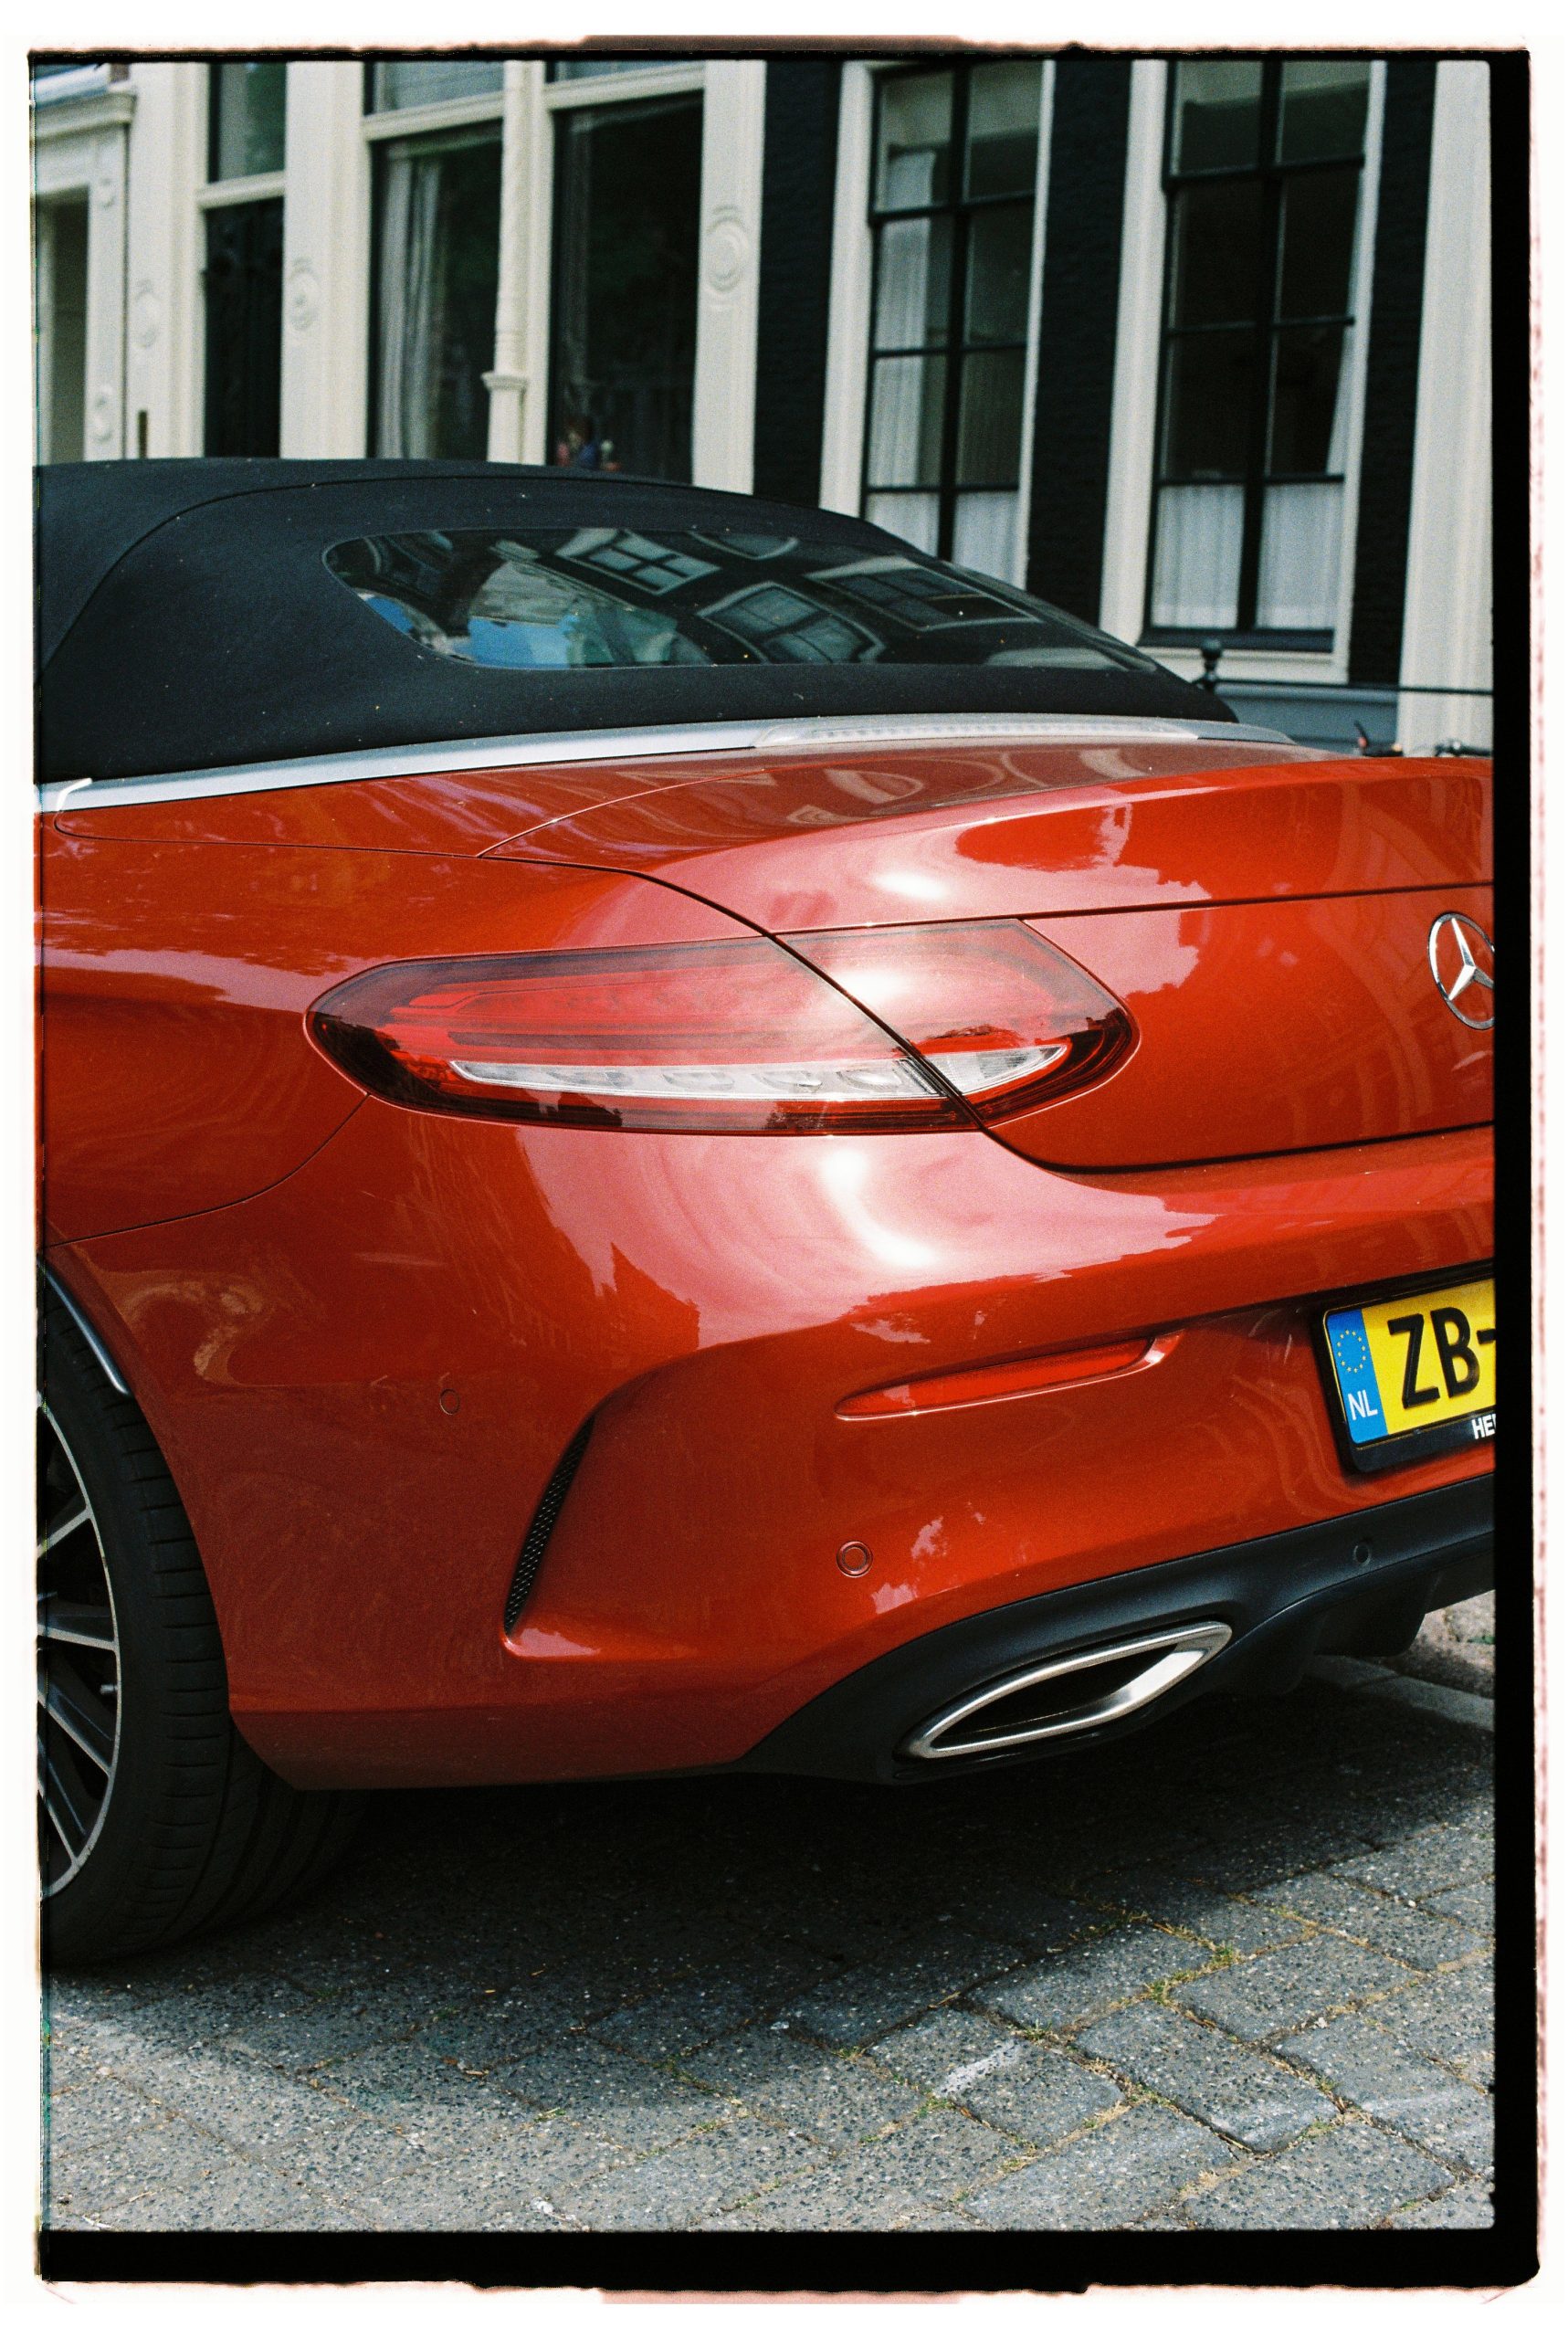
Kodak UltraMax. Exposed. In Domke bag
Kodak Portra 160. Exposed. No protection
If there’s any defect in the film, it will always show up in the shadows. Besides the color being a bit off, there seems to be a kind-of veil on top of the film that wasn’t protected from the X-rays. It shows mostly in the dark parts of the image, as you can see.

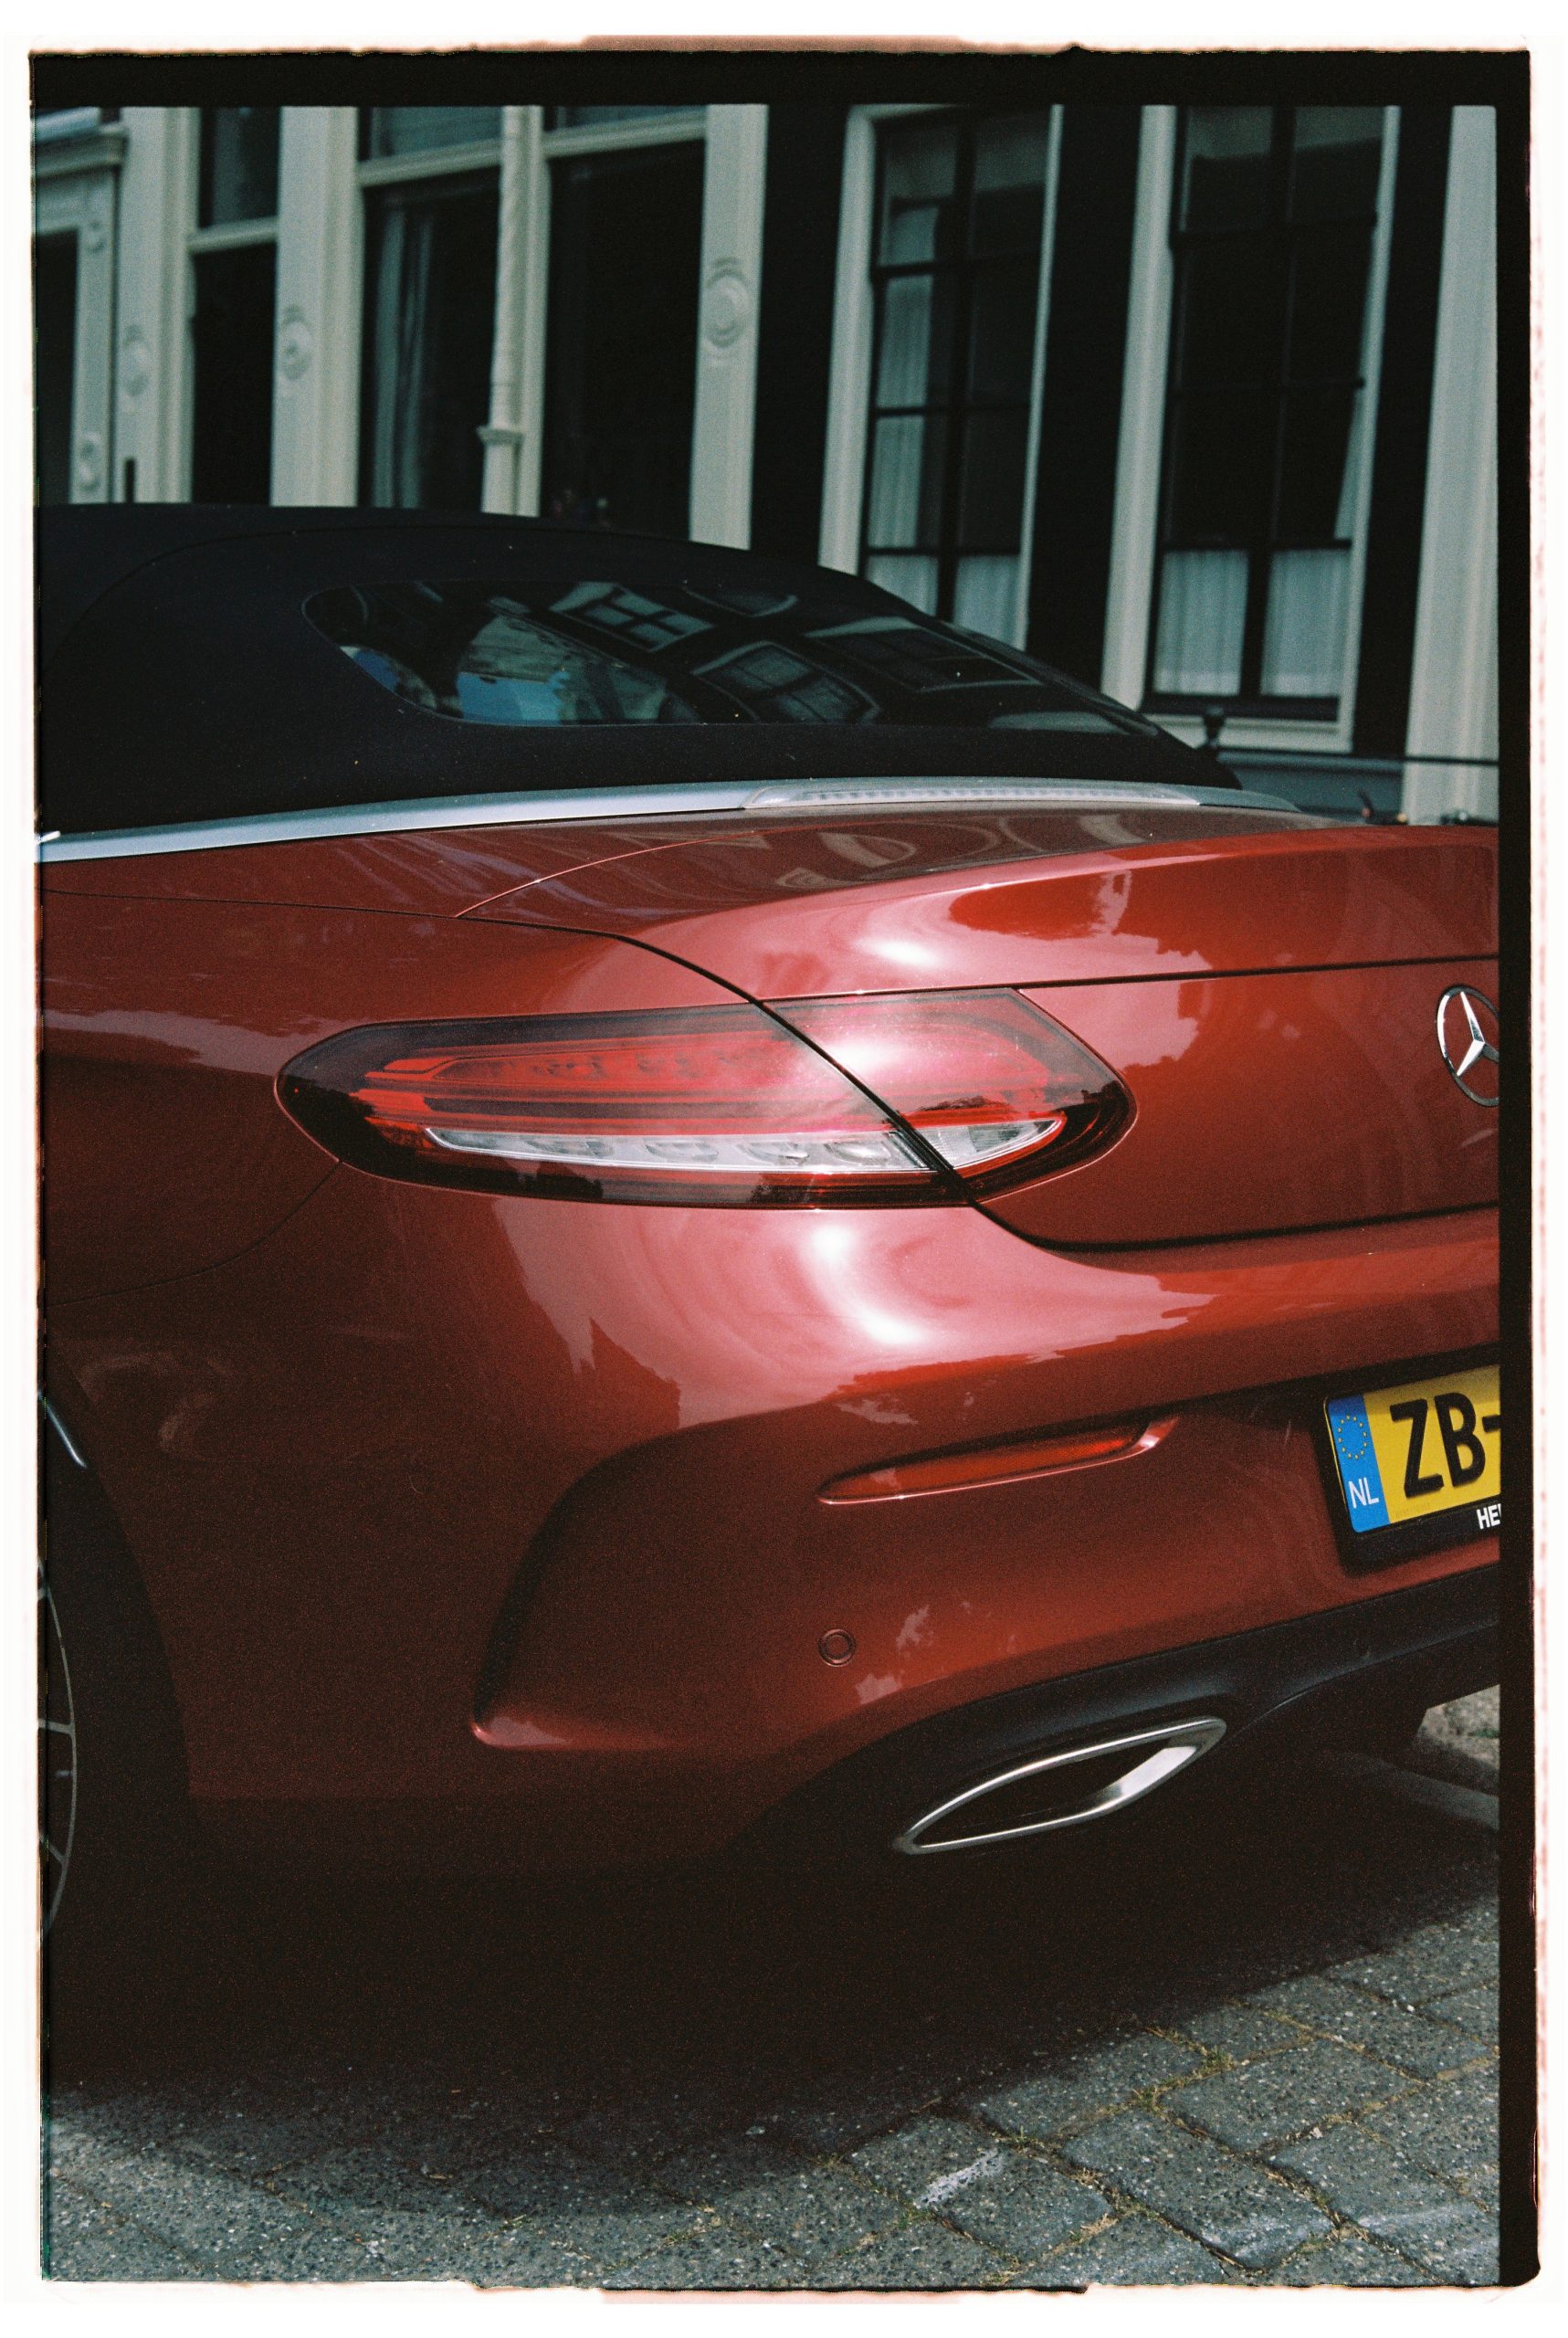
Kodak Portra 160. Exposed. No protection
Although it’s true the Kodak Portra 160 may have been a bit underexposed, the outcome is far from normal. We’re speaking of Portra 160 here!
We can see a clear example of what a ‘normal’ grain looks like in an underexposed film vs. the reddish grain/noise that appears in the film unprotected from the radiation through the CT scanner.

Grain on UNDEREXPOSED Kodak Ultramax. Protected in a Domke Bag
Grain on UNDEREXPOSED Kodak Portra160. Unprotected
We know you are probably eager to see more samples; we couldn’t feed all the samples into one blog post, though!
That’s why we created the full review of these scans in our Youtube video on the topic!
In any case, it’s a no-brainer for us: YES, there is a difference.
Exposed film through the CT scanner
Unexposed film through the CT scanner
Exposed film through the CT scanner

Unexposed film through the CT scanner
Unexposed film through the CT scanner
DAMAGING EFFECTS
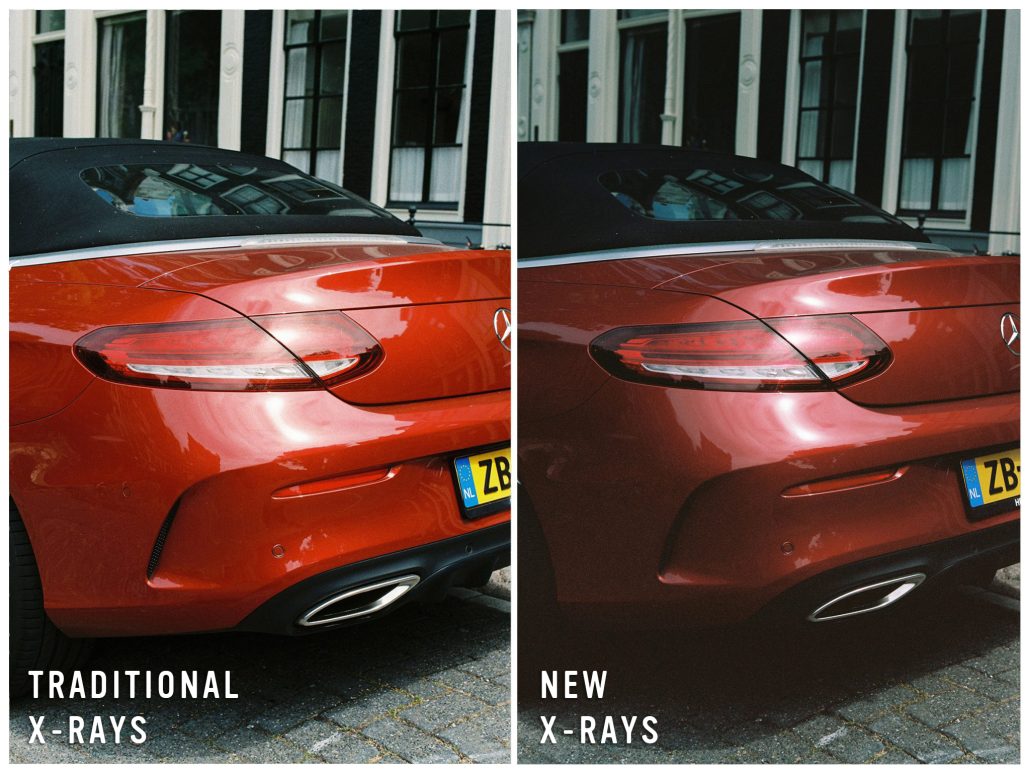
The increased radiation dose emitted by CT scanners will have a damaging effect on your film, and once damaged, there is no turning back. Traditional damage by radiation causes fogging on your negatives, resulting in a loss of detail and color accuracy.
The effect of the new CT scanners is a substantial loss of detail in the shadows, mostly in images with a tight exposure and a significant amount of grain. It will feel like your image has been a bit “overcooked” and sundried. As a lab, we will try to recover as much as possible, but there is only so much we can do to it when the emulsion has been affected.
Also, take into count that the more airports and CT scanners you go through, it’s very likely that the damaging effects increase with each passthrough.
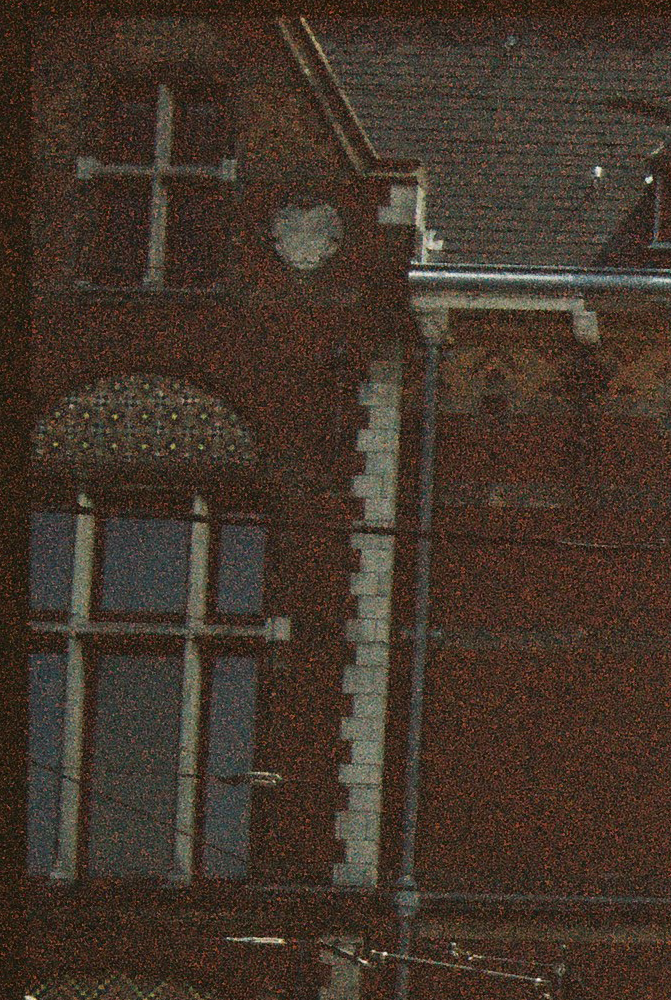
Fogging example on the edges

Fogging example in the shadow parts
Fogging example on the bottom with a greyish veil
This can be especially devastating for photographers who have just returned from an important job or a once-in-a-lifetime trip and are eager to see the results of their hard work, especially if their shooting style does not involve overexposing.
Color Film exposed to a CT Scanner and shot afterwards (metered for highlights)
To be honest, it was pretty surprising to see the final results for many reasons. Since we know this is quite a heavy topic, we will try to lay out our conclusions in the most concrete way possible so it’s easy to understand for anyone that made it this far!
Still curious? Check our video behind the scenes of the whole process, and our reaction to the samples live, commenting on detail and exploring the images individually. If you feel like this was helpful, and you enjoyed it, let us know in the comments so we can keep making content like this!

If you must put your film through a CT scanner, there are not many things you can do except protect your film. We strongly recommend you purchase a Domke FilmGuard bag or similar; these have lead-lined fabric that blocks any harmful X-Rays. You can find them online.
But of course, the best protection is to talk with the airport security personnel and mention that you have sensitive film inside that cannot go through the scanner. (Feel free to use watery eyes to convince the officer if needed).
AIRPORT LIST
Current CT Scanners locations in Europe:
(April 2023)
*In the USA it’s already becoming a default and it’s being installed in 145 airports across the country, including all major airports; listing them all would be a bit of a non-sense
(Because we felt this post was not long enough already)
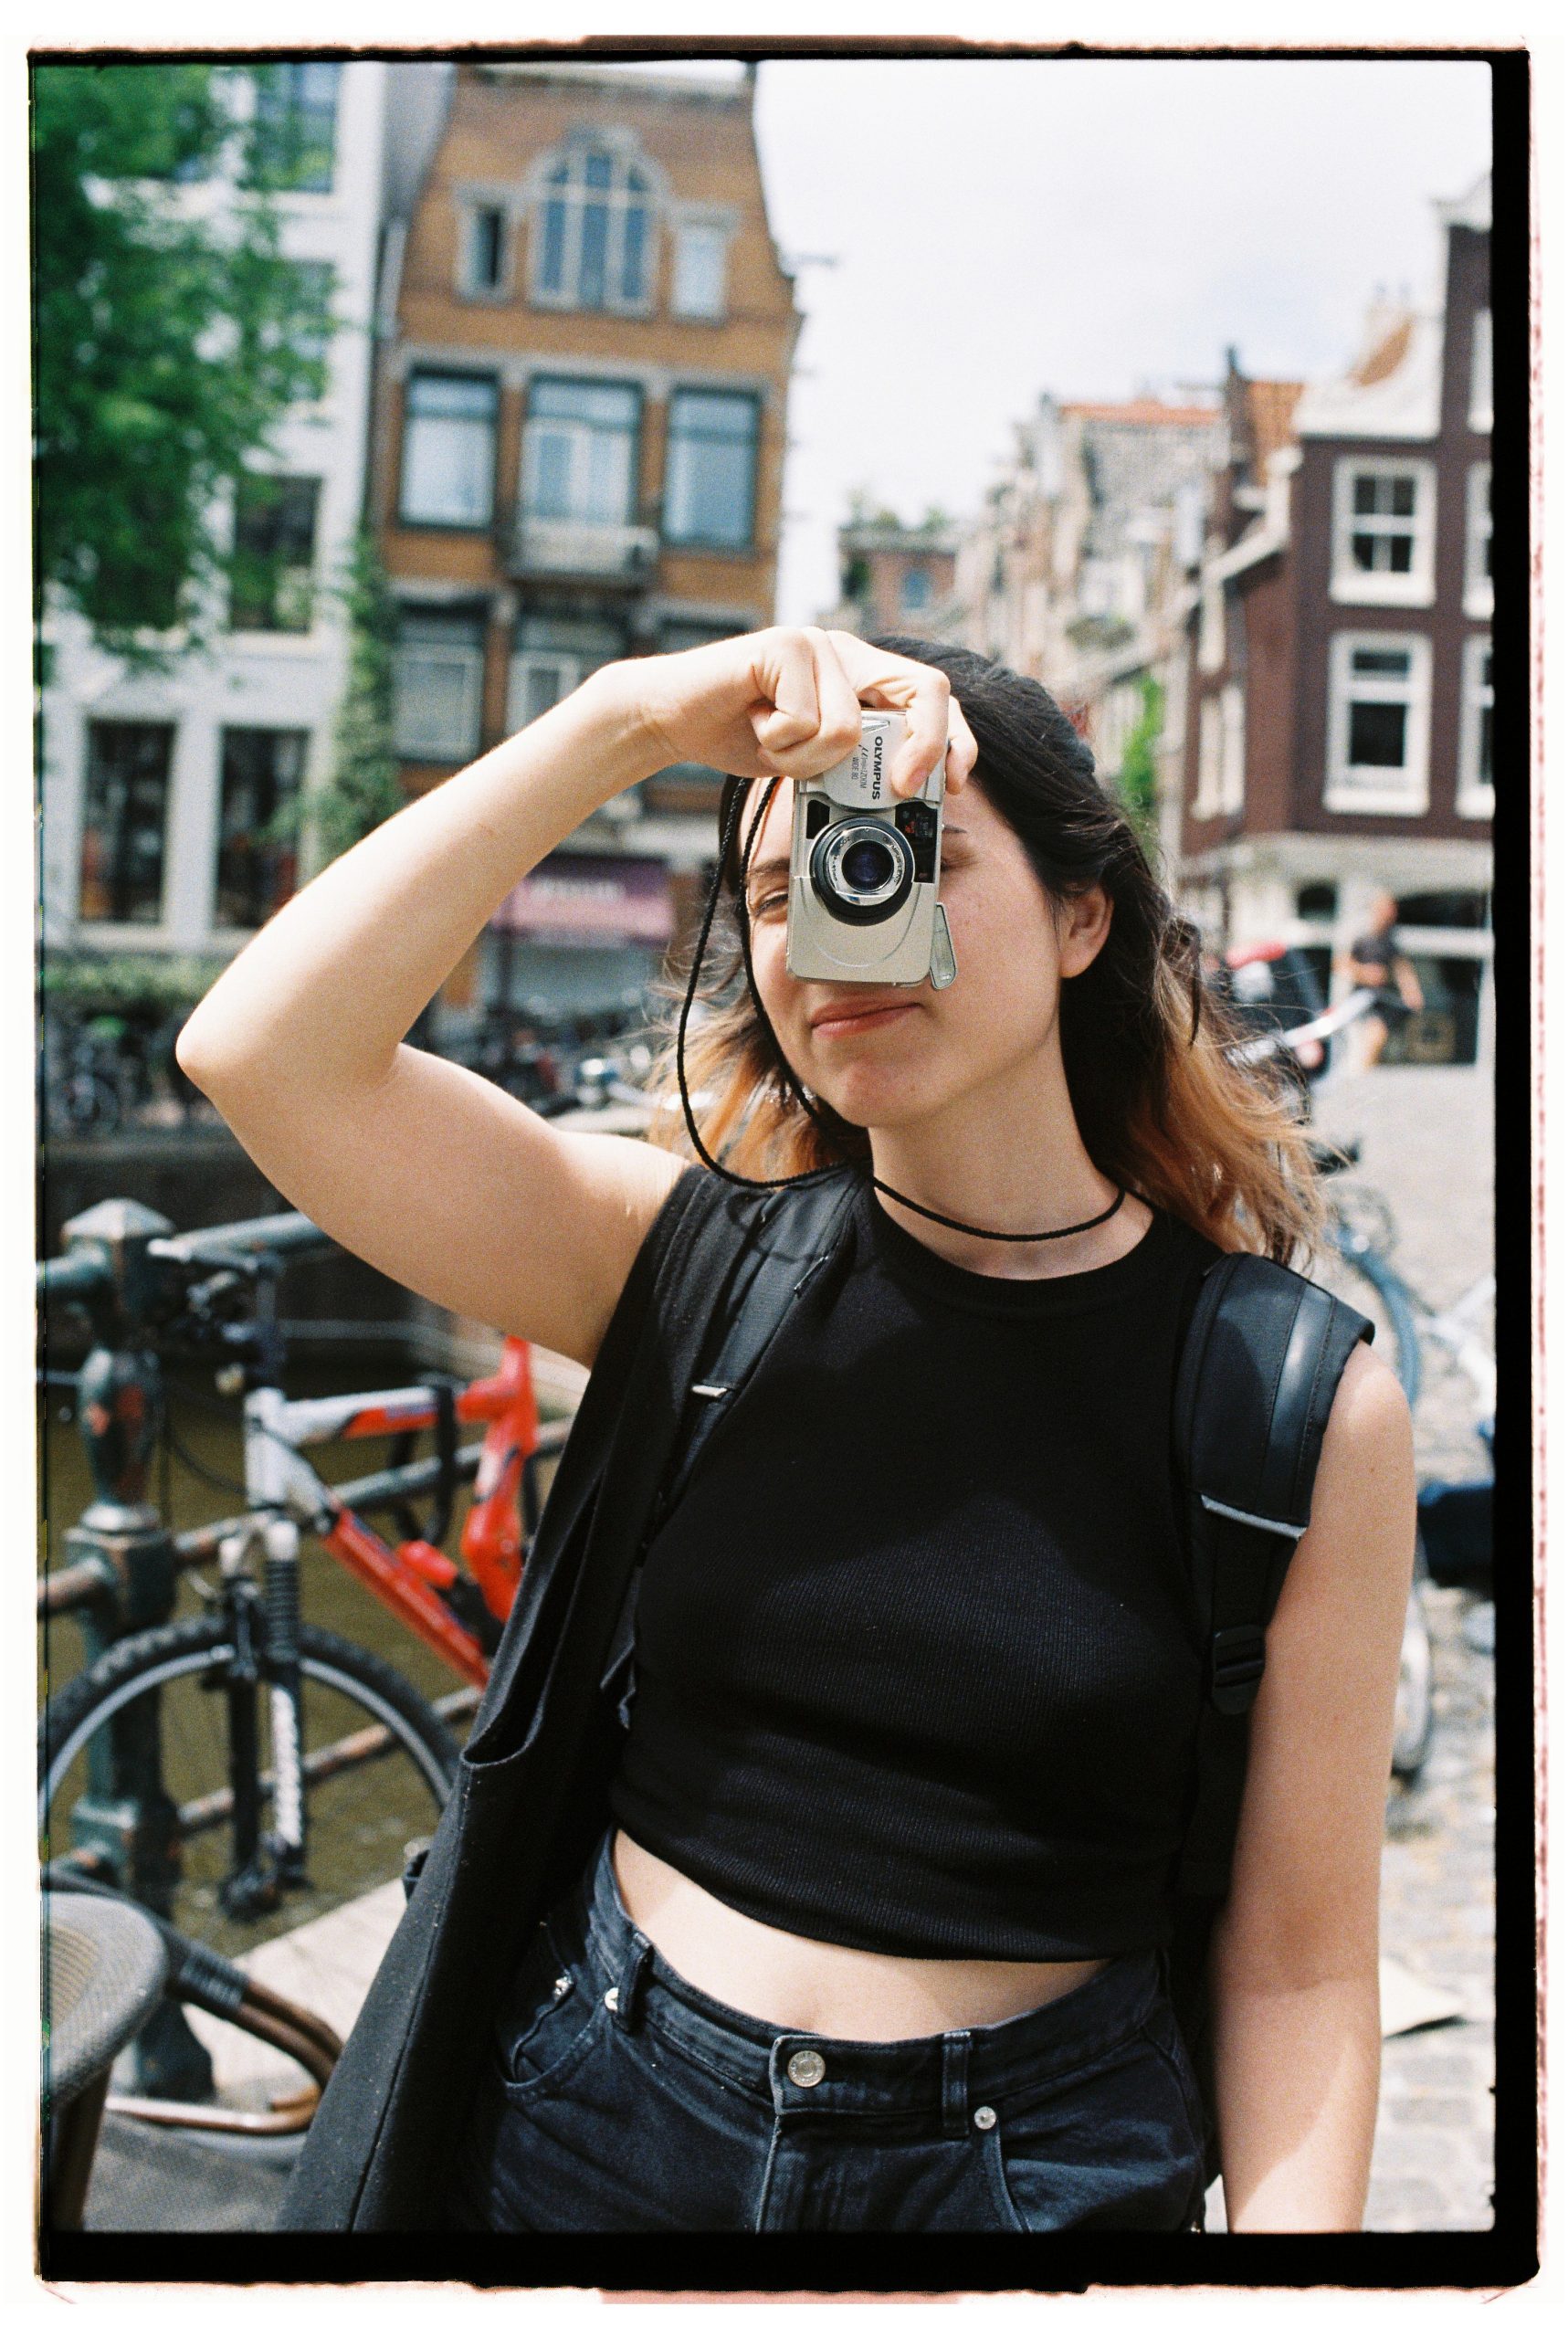
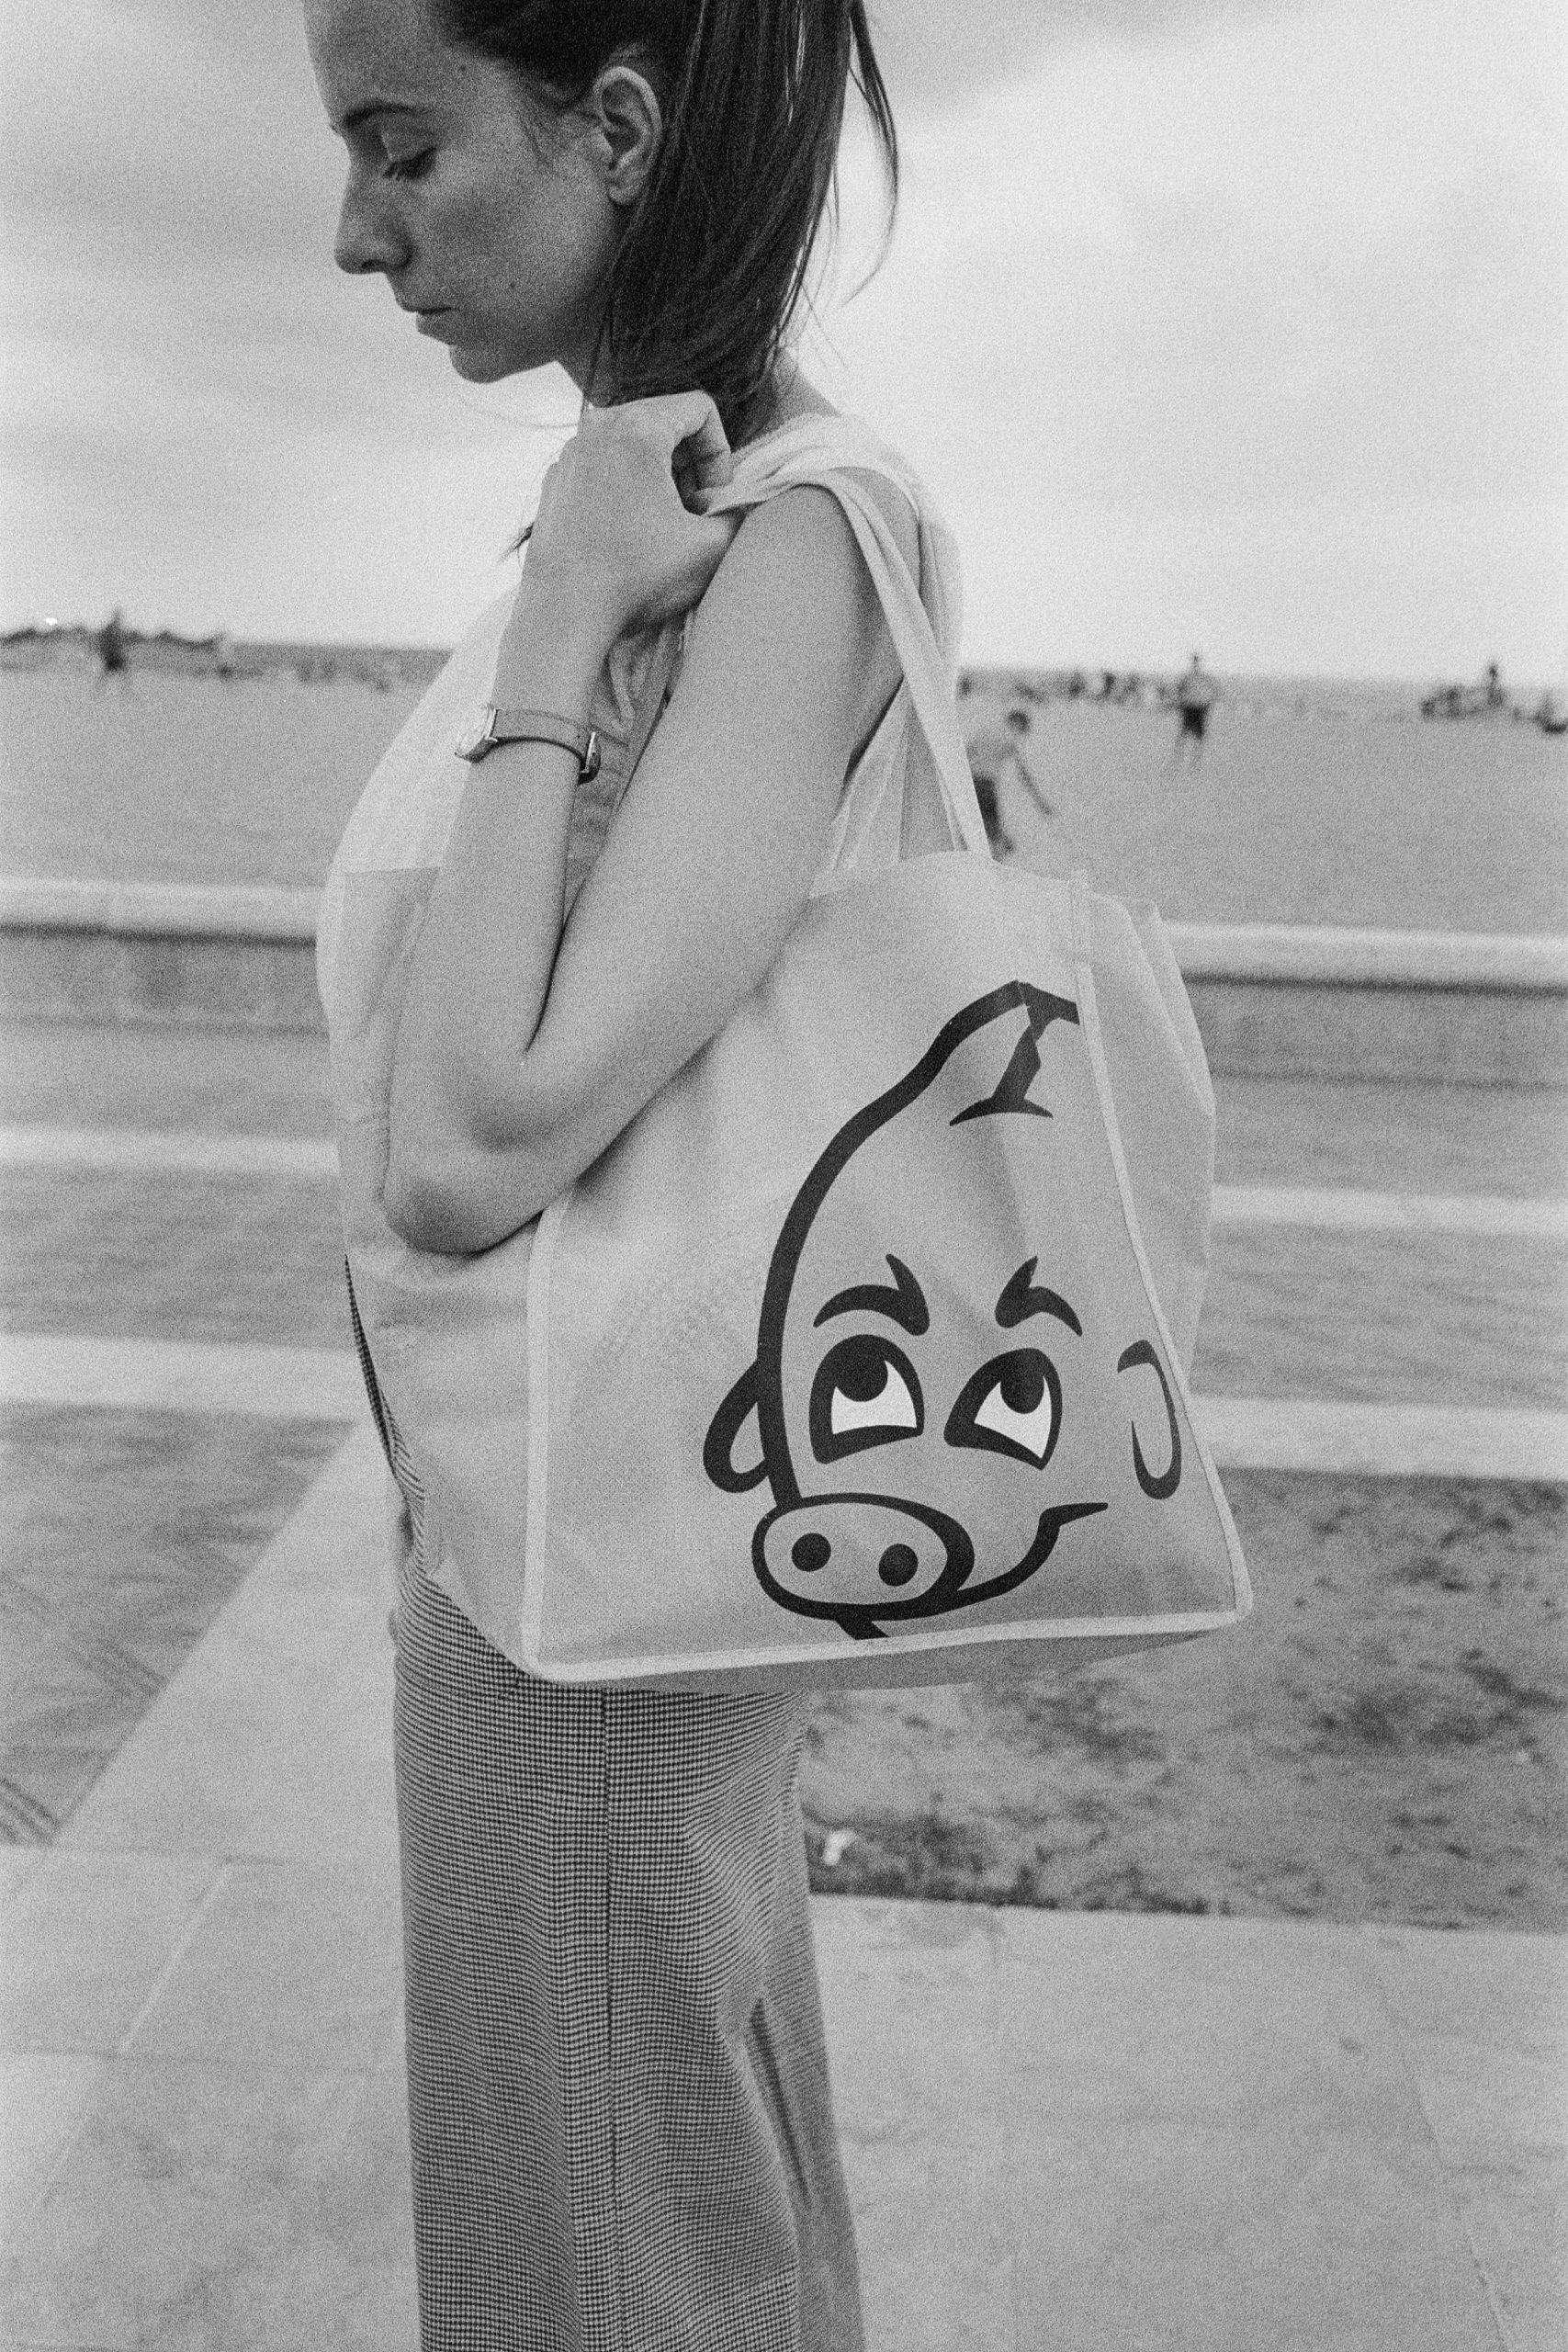
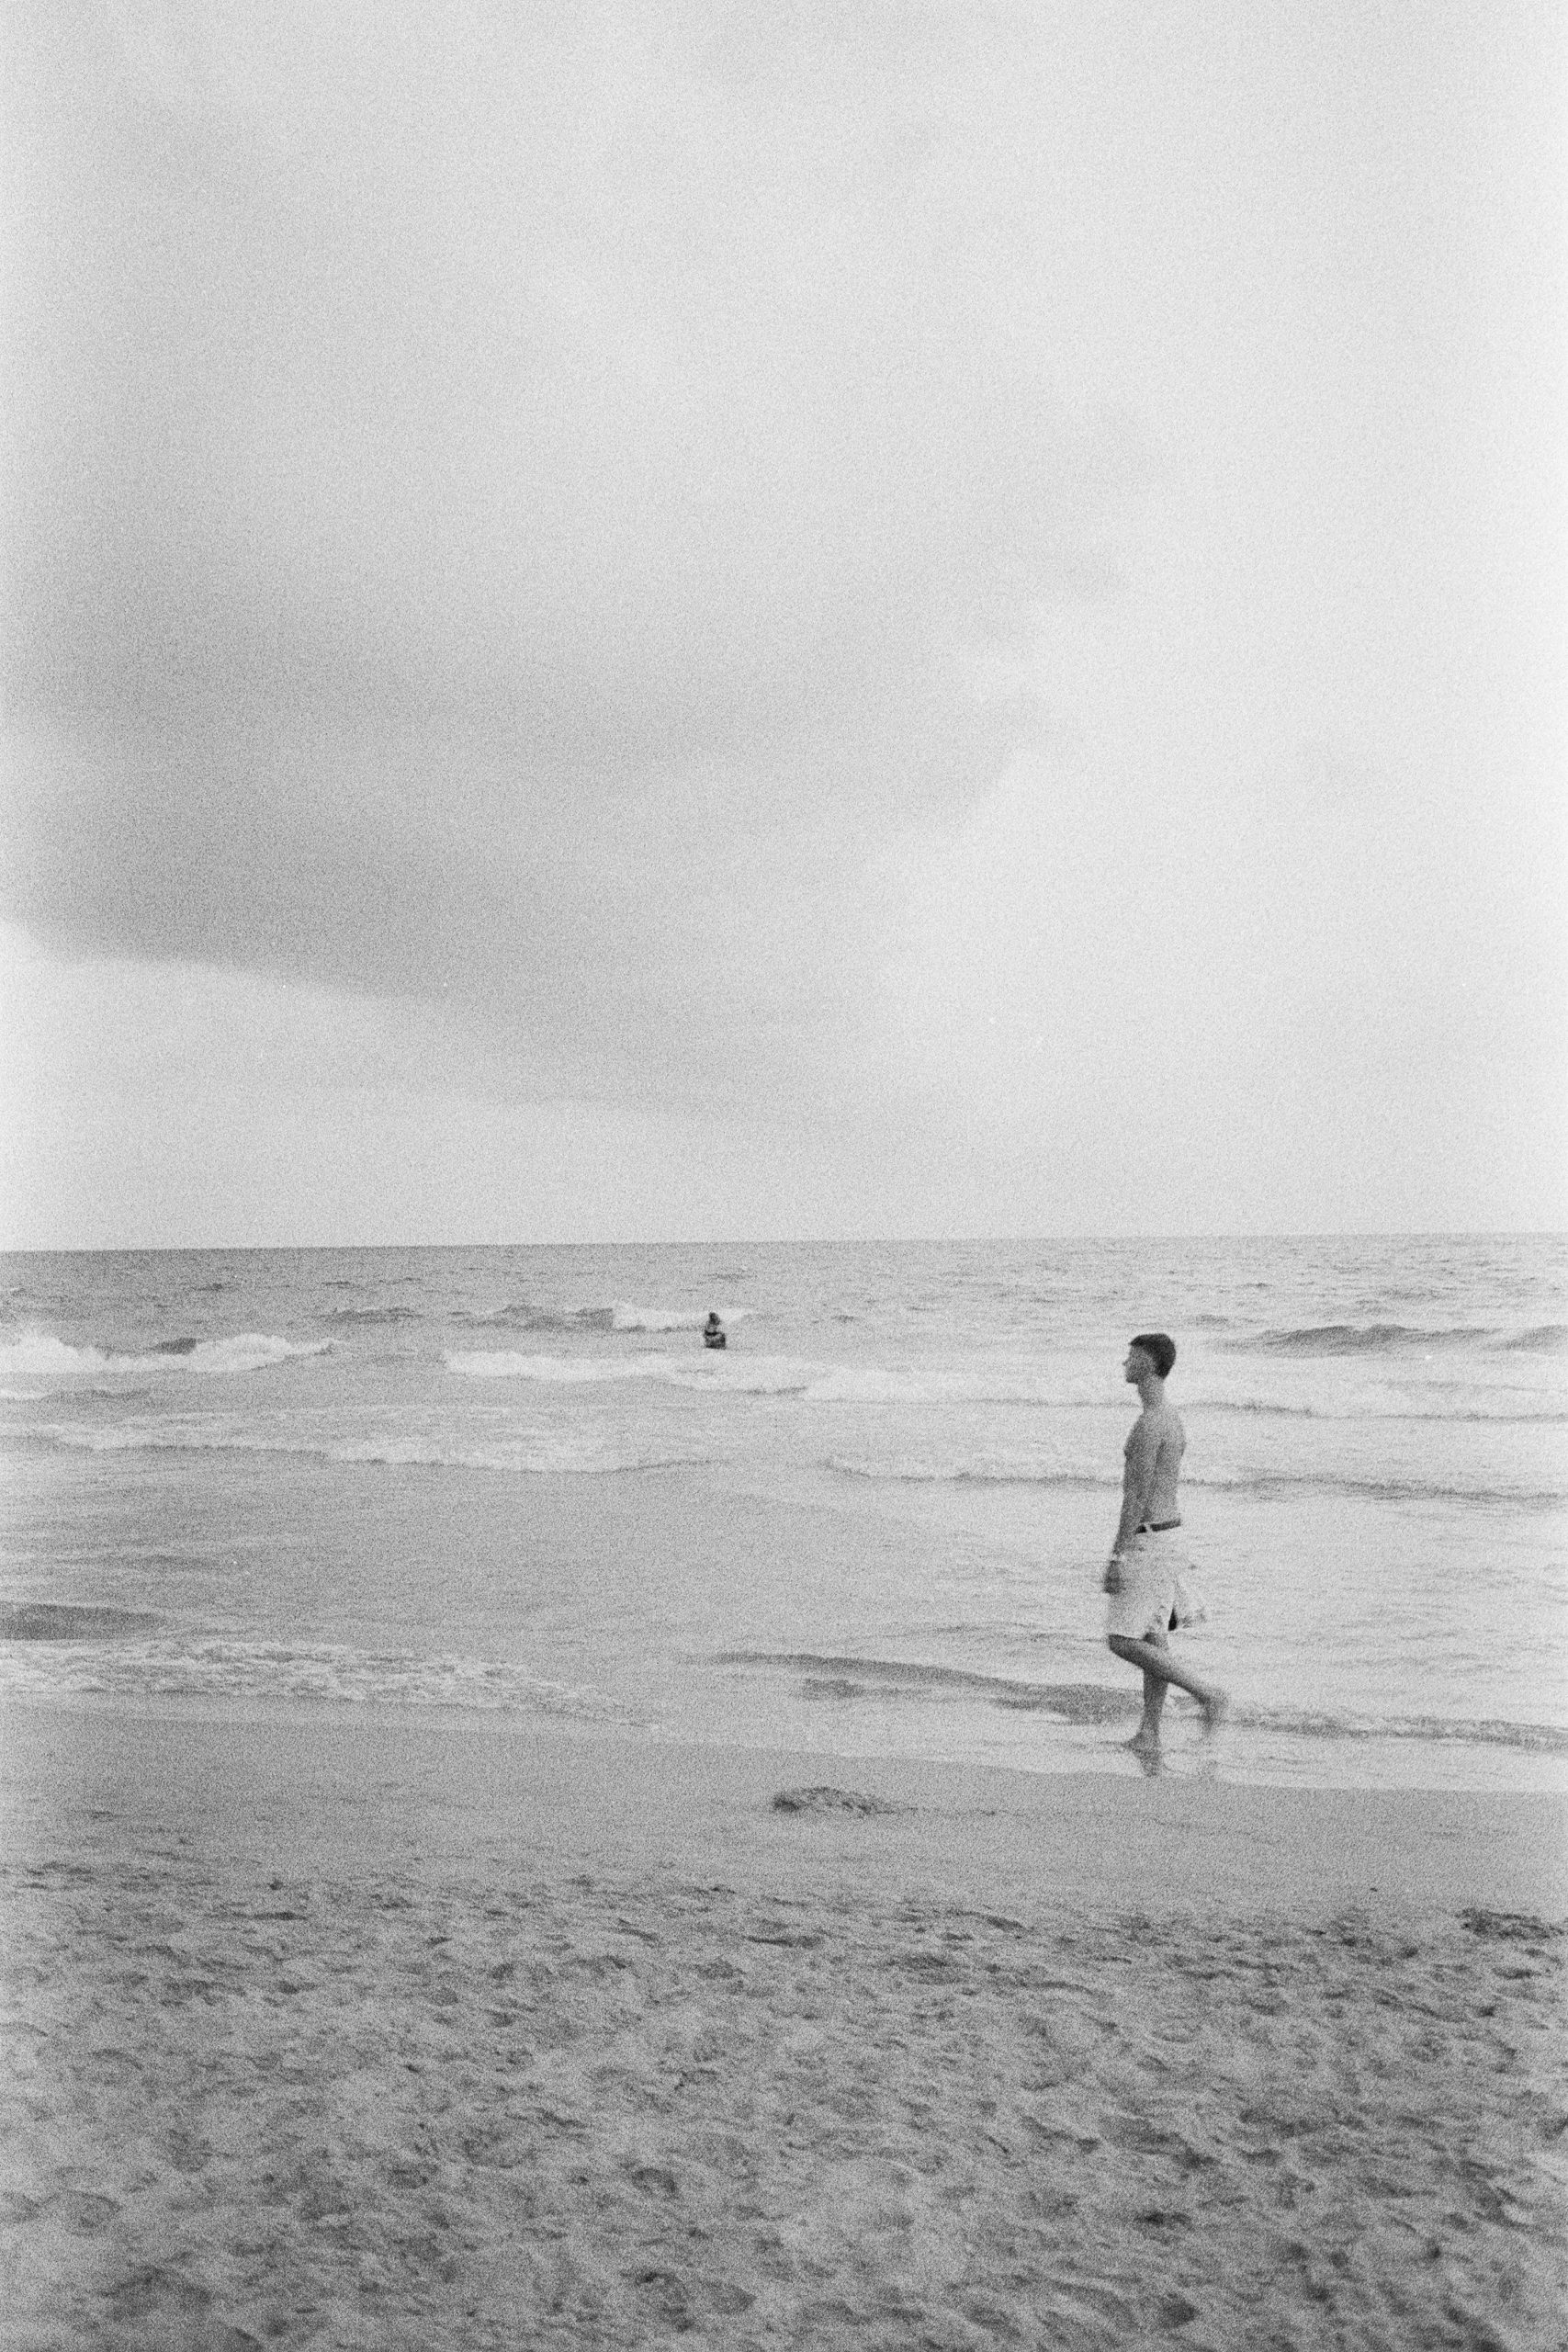
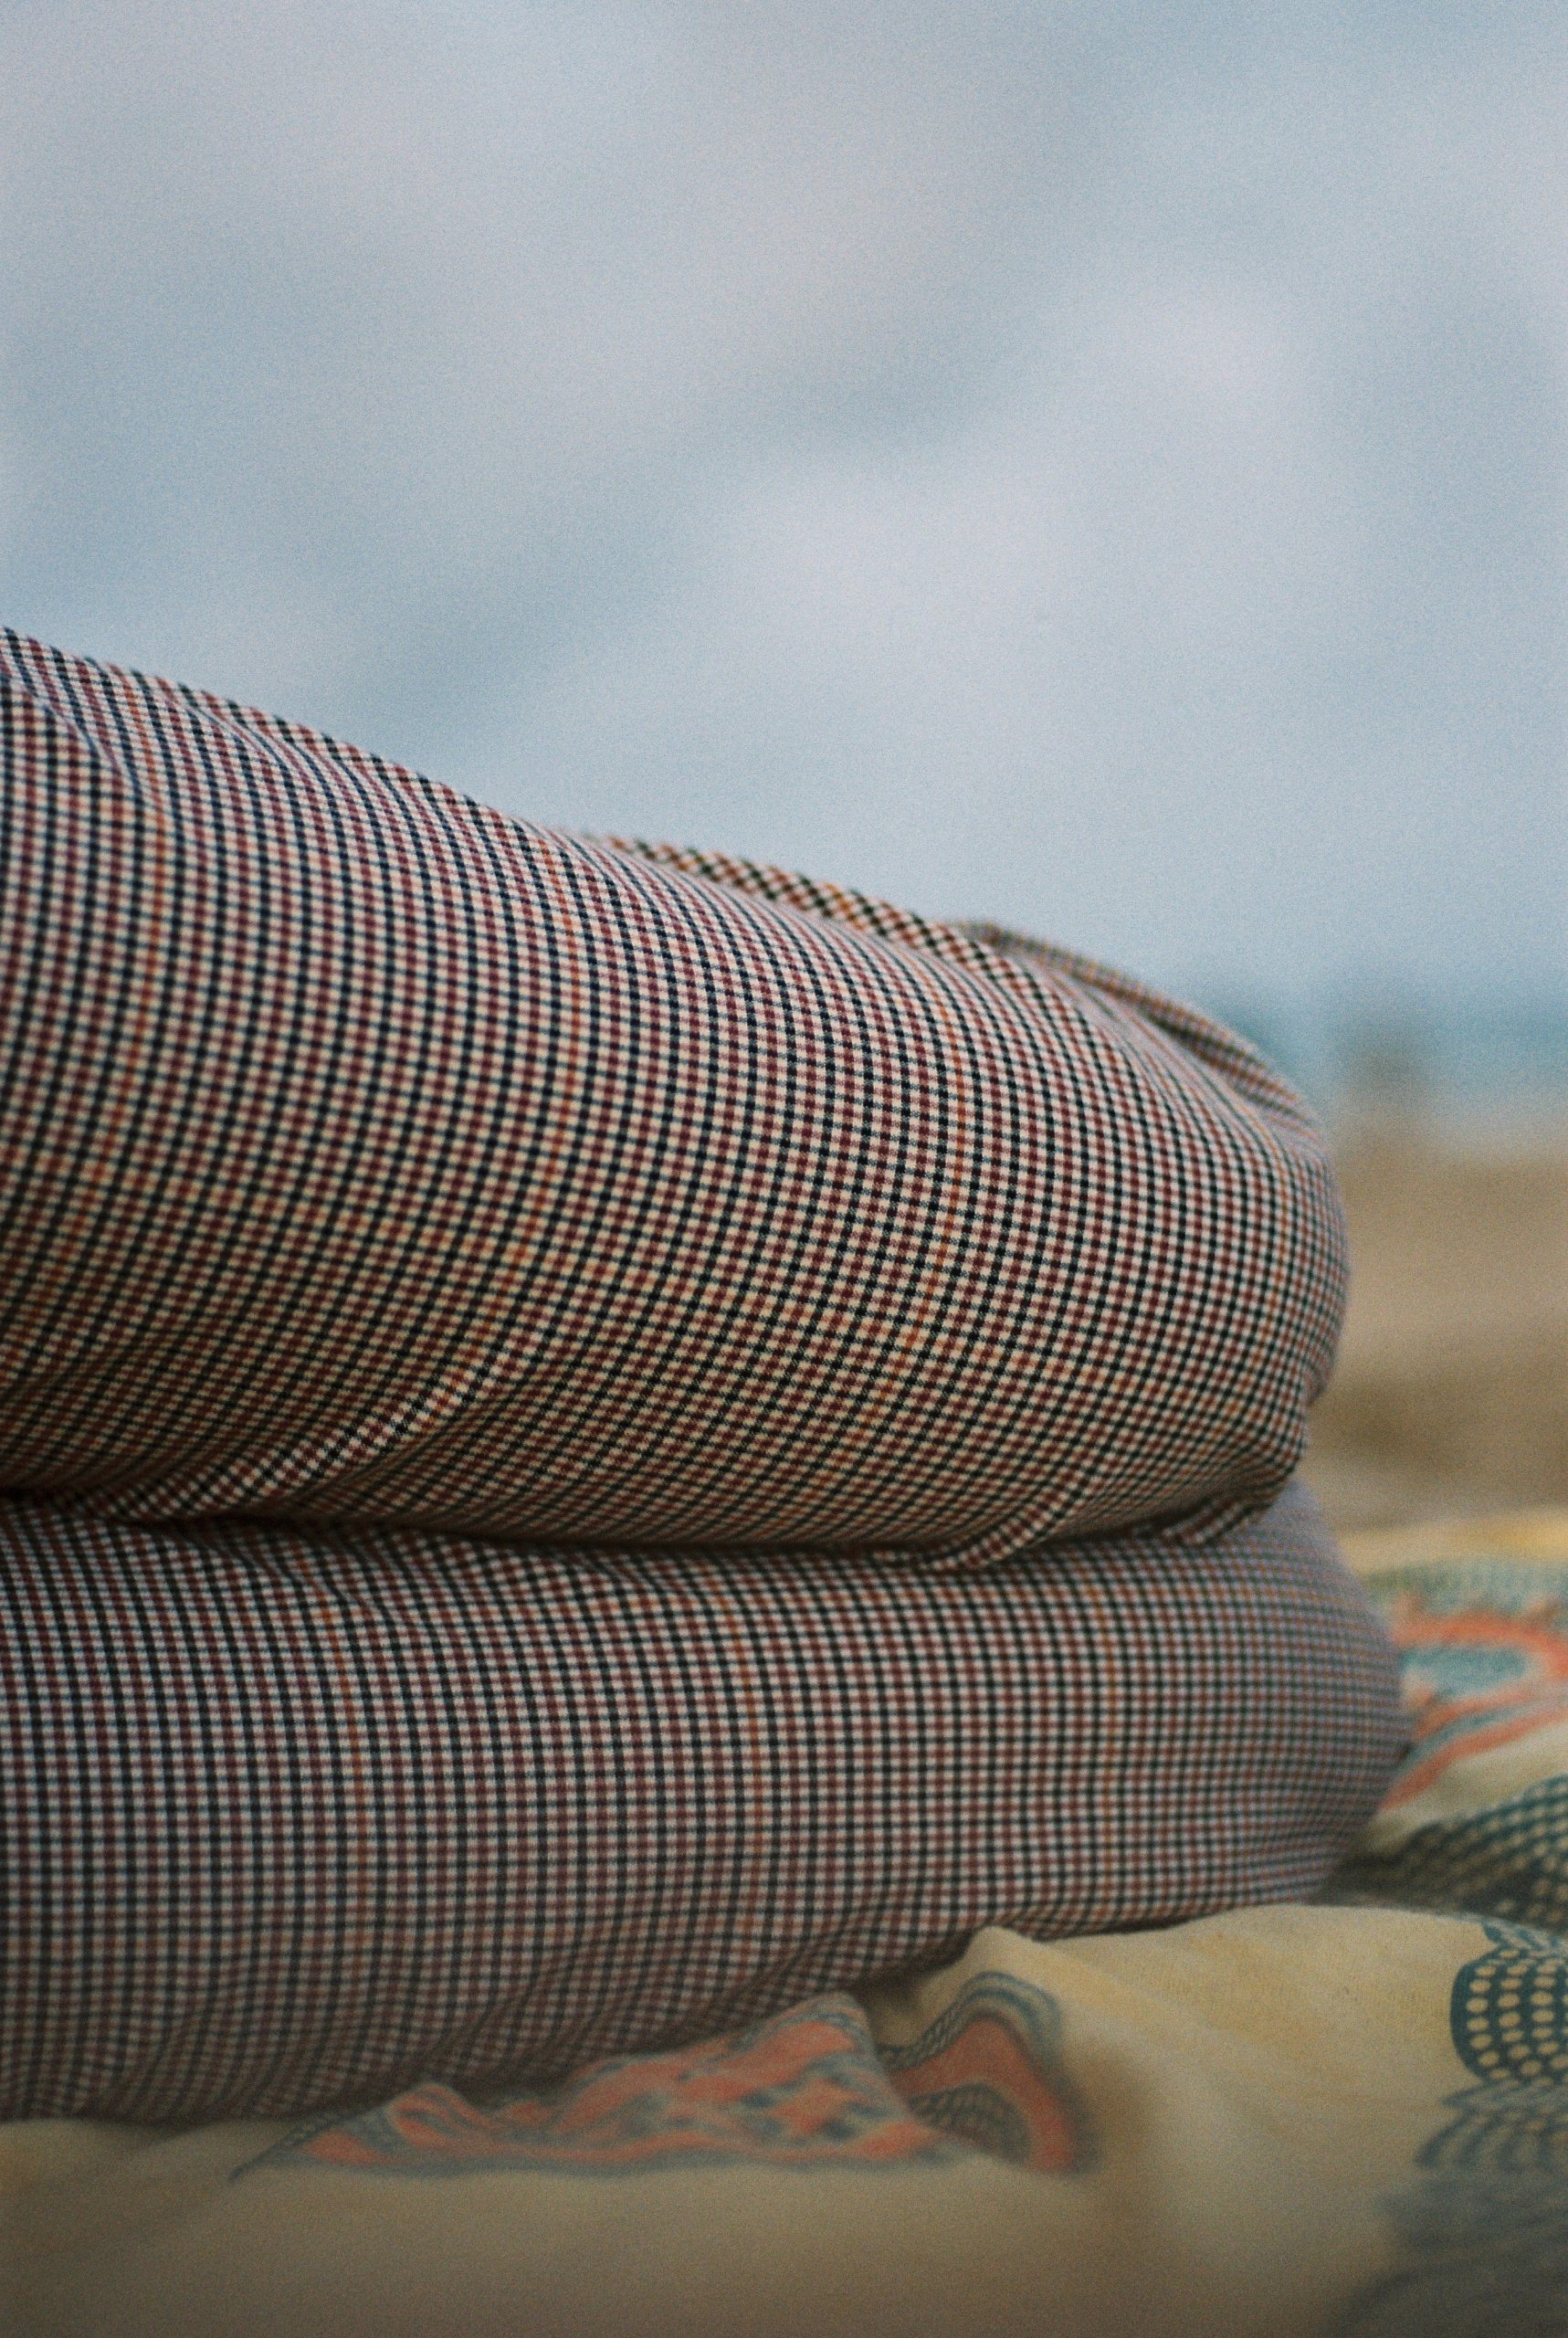
One of the involuntary tests we did when shooting the already scanned film once we came back to Valencia was shooting the same frame with 2 very different exposures, and the result was quite stunning. In all honesty it’s a bit random that is a portrait of my but it is what it is!
When putting them side by side, we clearly see what we mentioned about the difference in grain structure.
Remember, this is the same film, same camera, same everything, just one picture was more overexposed than the other.
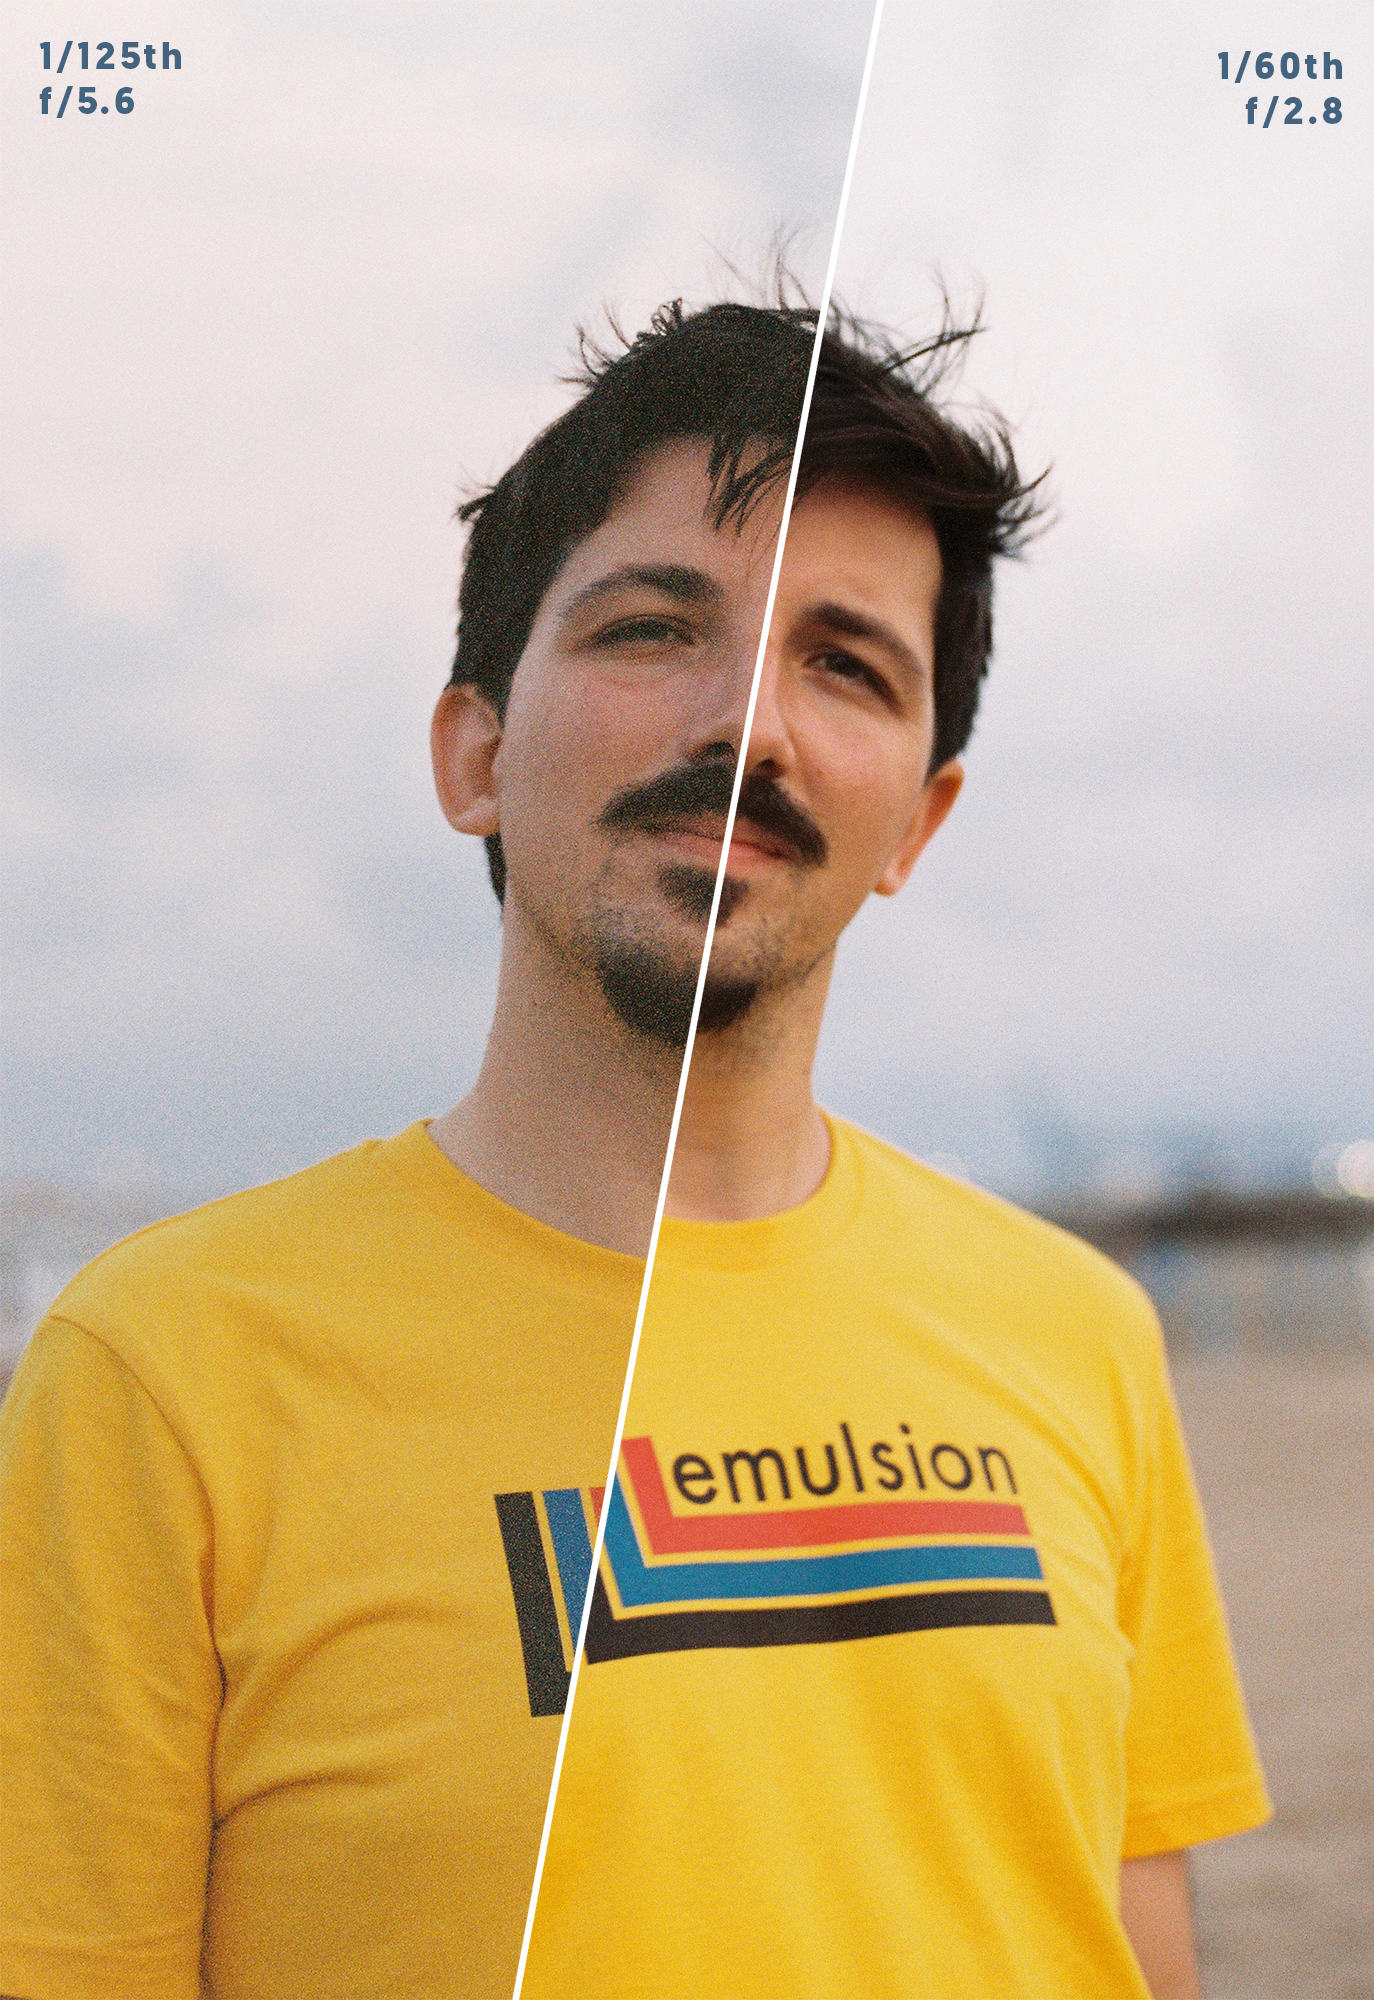
Different exposures with the same film affected by a CT scan.
“I remember telling my girlfriend after she took the first image that somehow the exposure felt a bit low for the amount of light there was. I believe it was something like 5.6 at 1/125th, and I changed it to 2.8 at 1/60th on the second one.”
The difference was quite shocking. Of course, there is still a bit of grain structure, but if you have any questions about how much exposure could affect your results, especially when dealing with challenging circumstances, consider giving extra exposure to compensate.
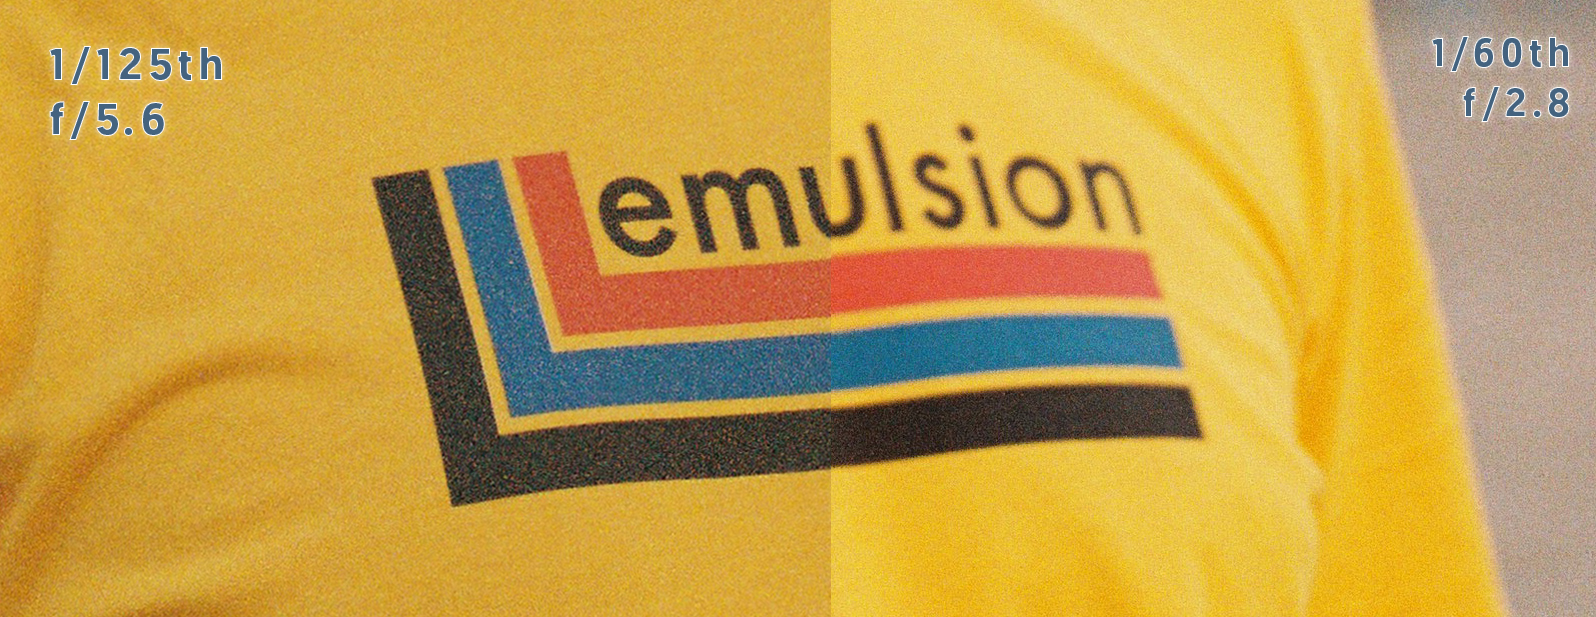
Detail of the difference in exposure after the CT Scan
Head of the lab since 2013 and currently managing the team, developing new projects and trying to bond the international film photography community. These are only my personal thoughts; you may or may not find them relevant, I believe there is nothing healthier than a good debate!
– Albert Roig, Manager at the Lab
